This side ports project ended up being a rather large undertaking....
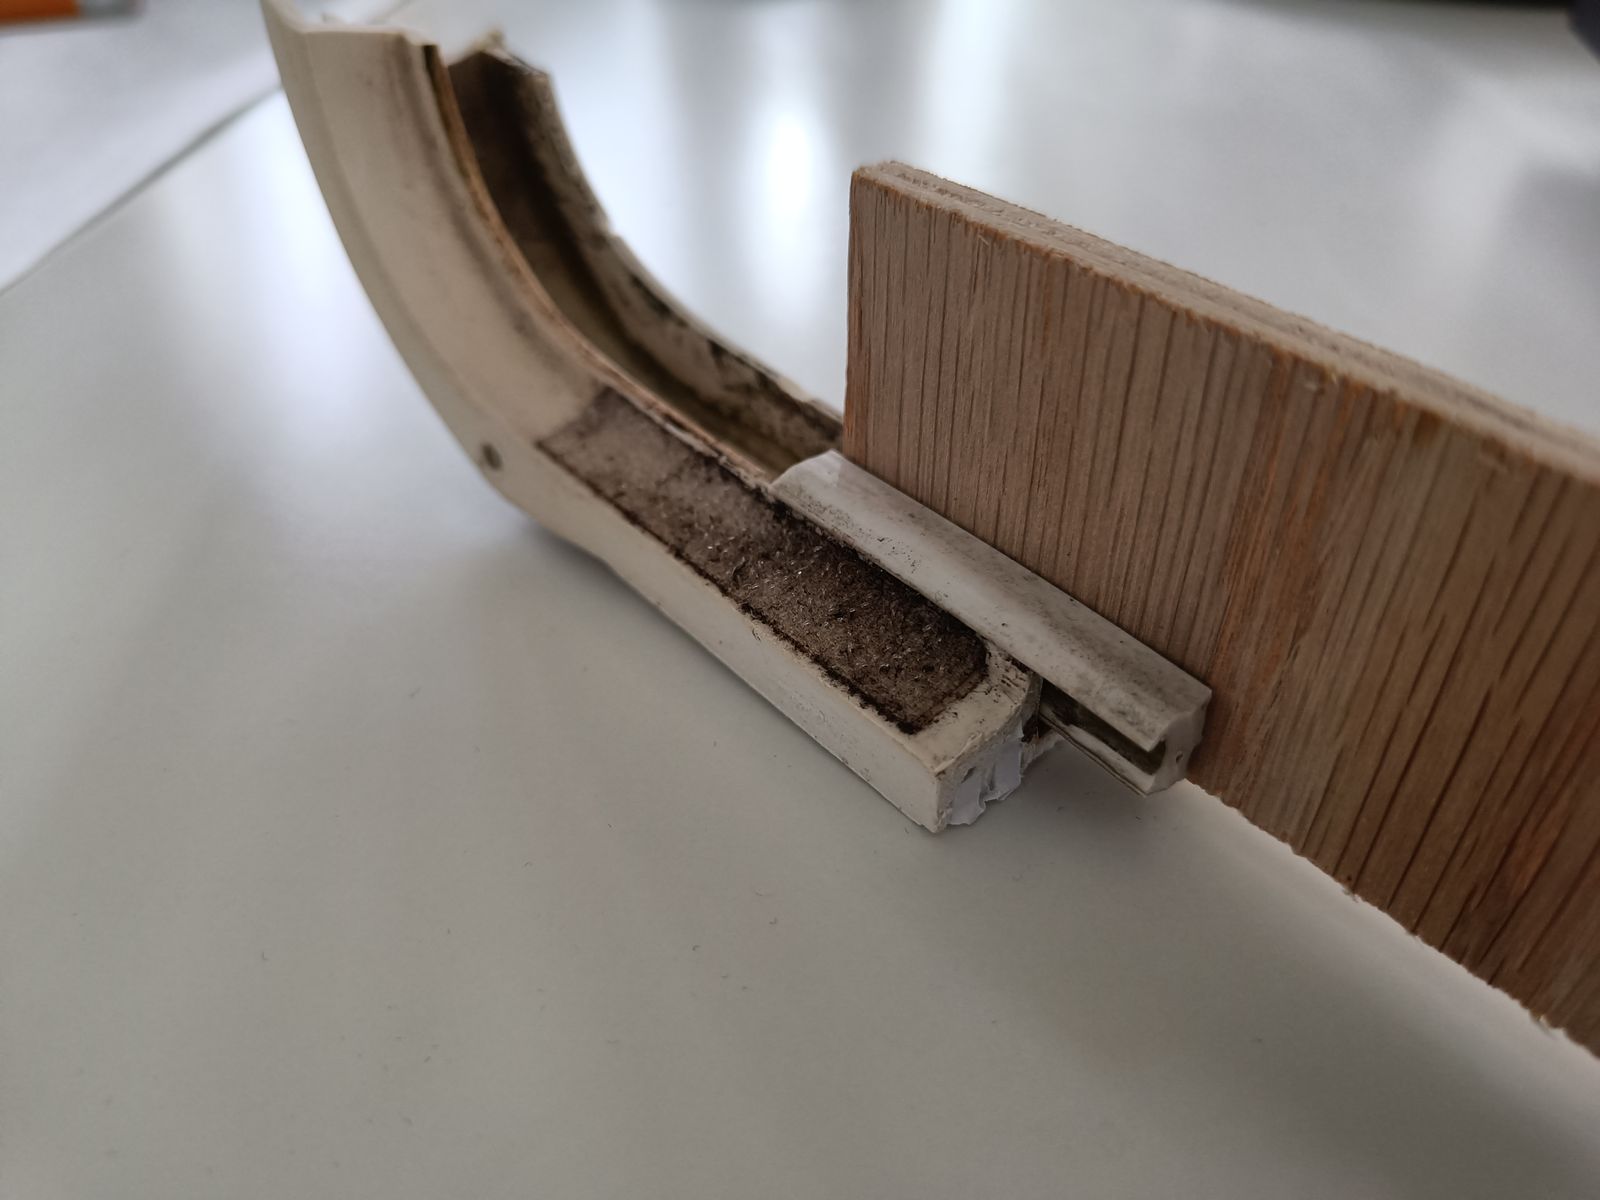
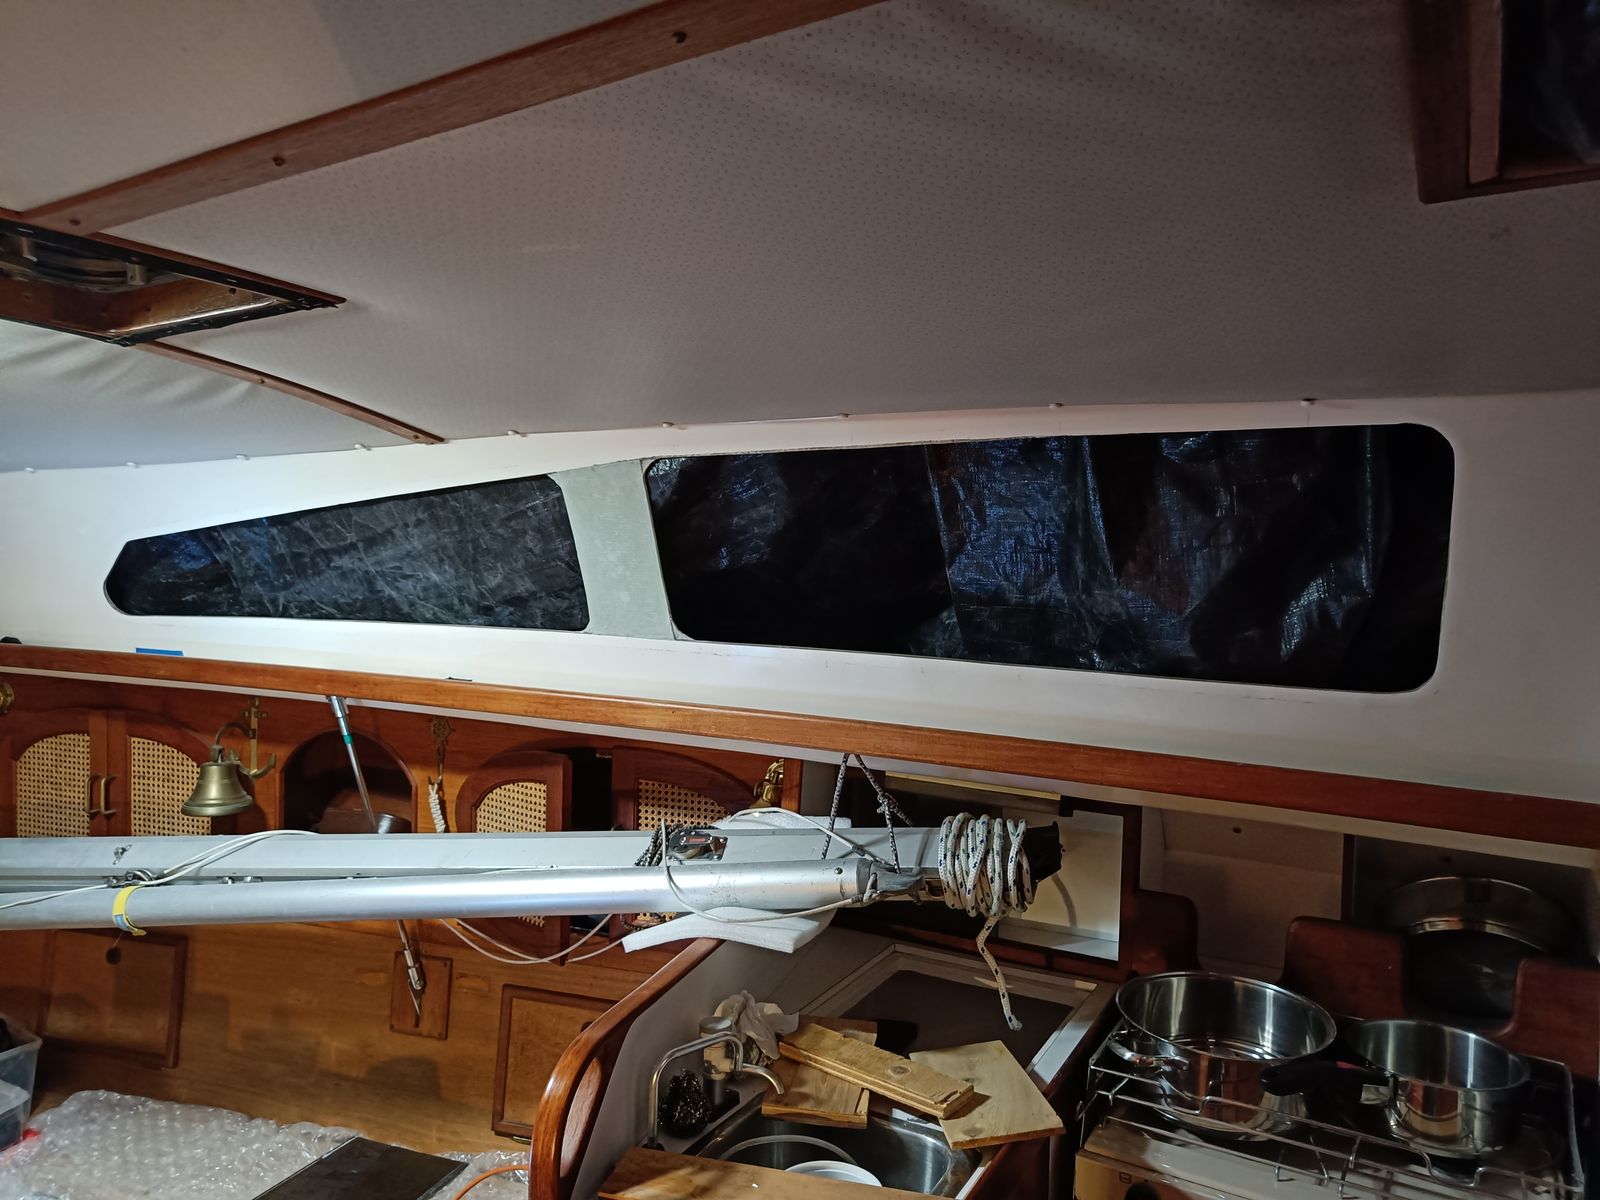
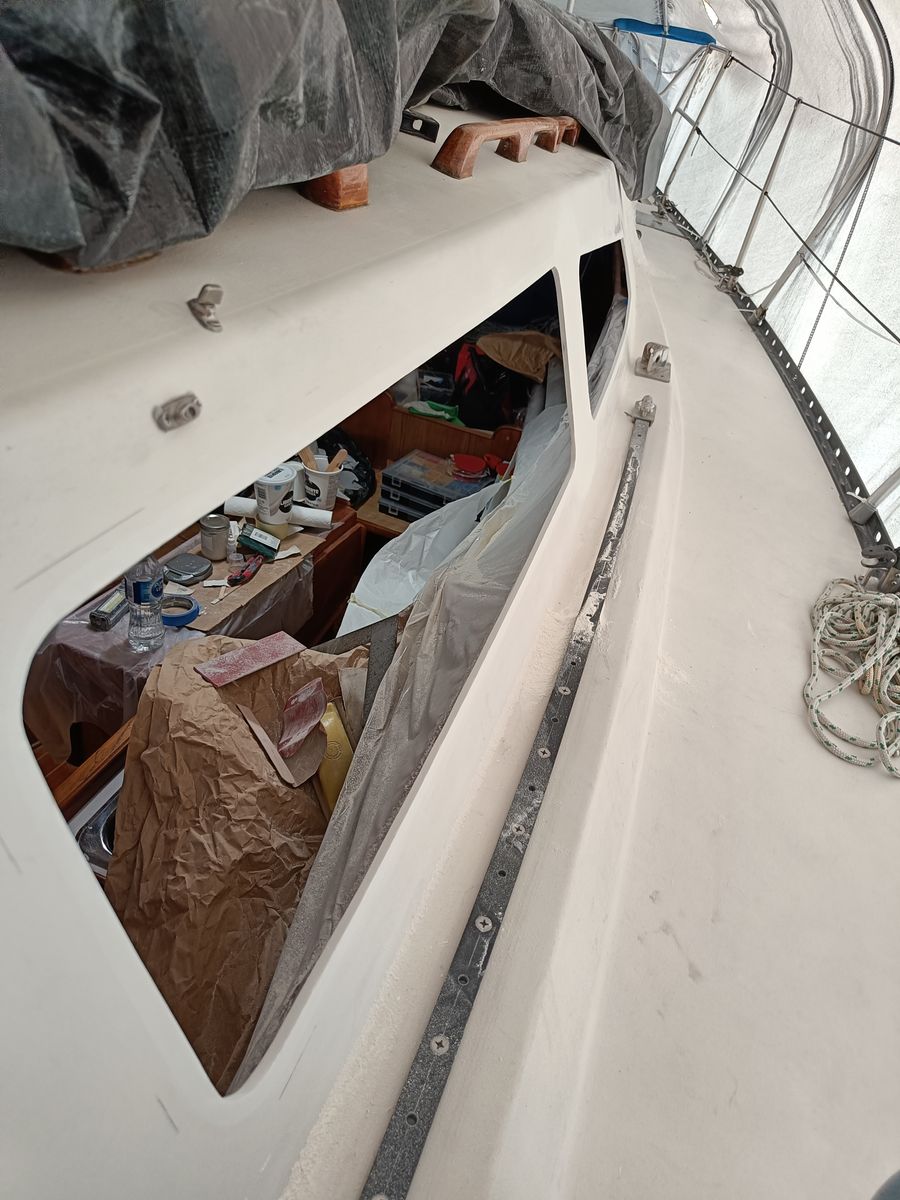
The old ports were leaky and super crazed to the point where they were hard to see out of. I decided this winter I'd tackle replacing them.
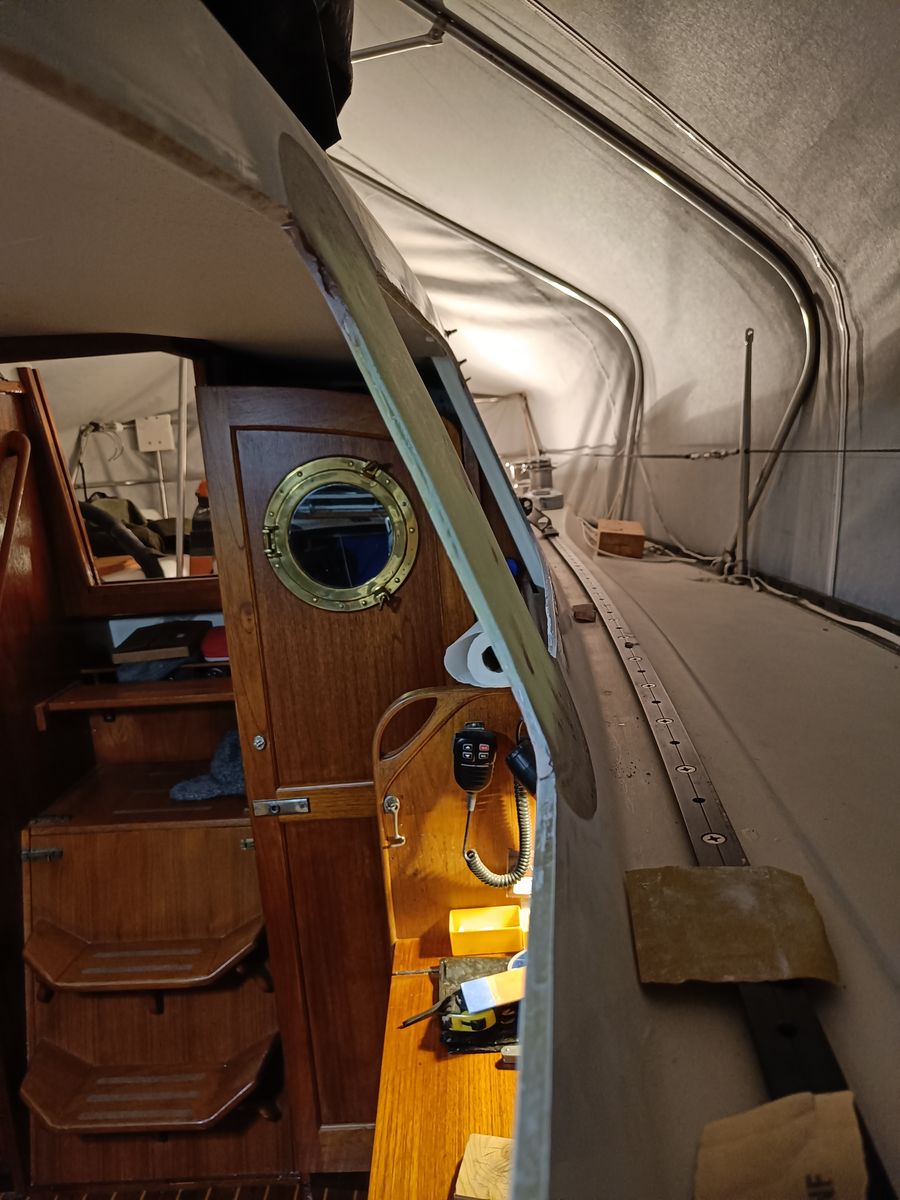
My original plan was to simply remove the old ports and frame, refinished the port hole cutout to be smooth and finished with some gelcoat, and then get a new piece of acrylic cut to glue onto the outside.
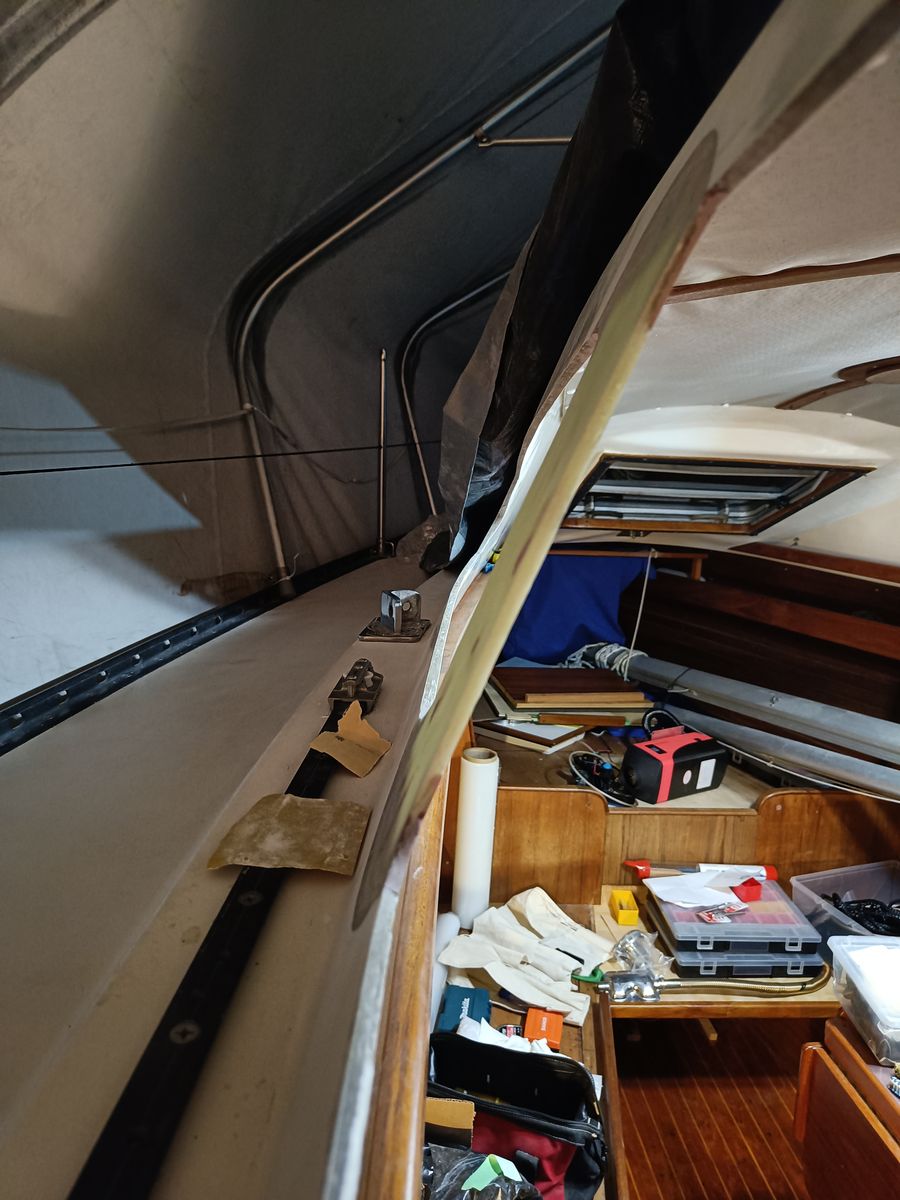
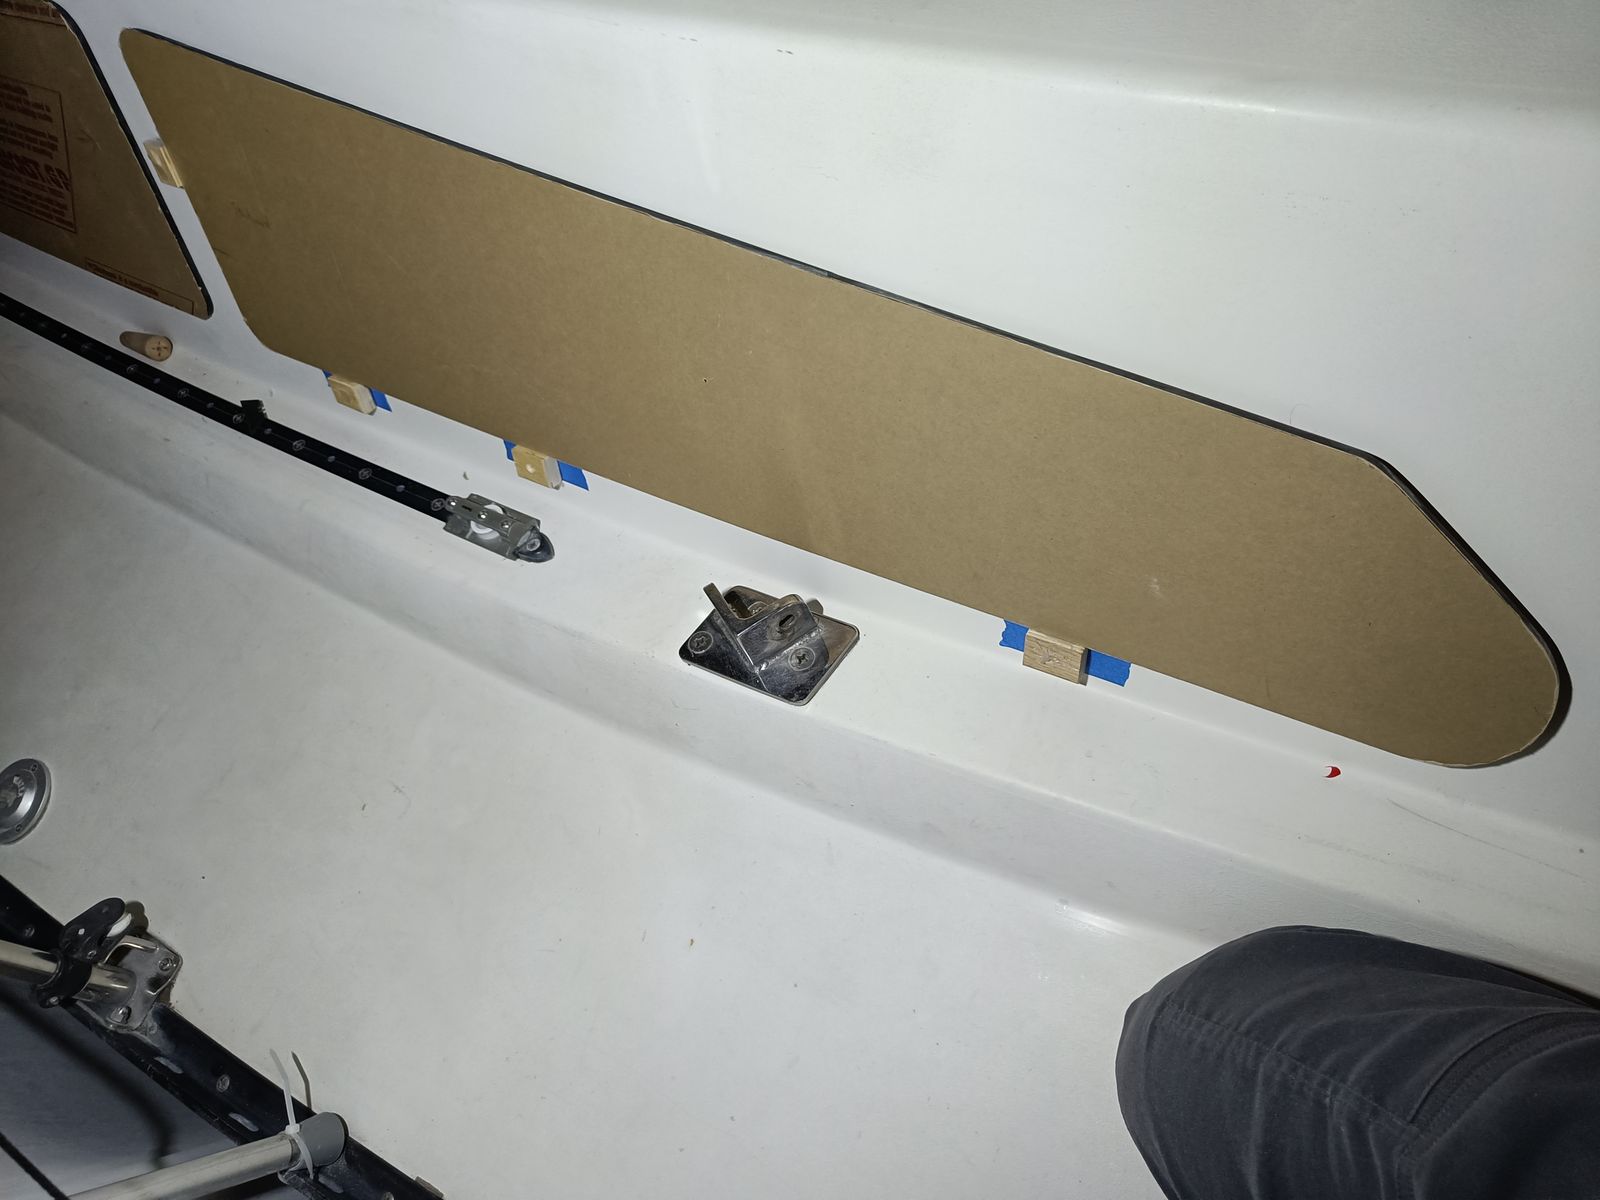
So I got to work, removed the old ports and cut a template for a new one. When I bought that template into the shop, they asked me if I had considered thermal expansion because this was a 7 foot long port. I had not, so I went back and did some more research. A 7 foot long port does expand and contract a serious amount from a cold winter day to a hot summer day, nearly half an inch longer from the coldest day to the warmest.
So that presents some challenges in how you adhere something like that. One of the better solutions is to just make things smaller, so the movement is more managable, and so that is what I decided to do.
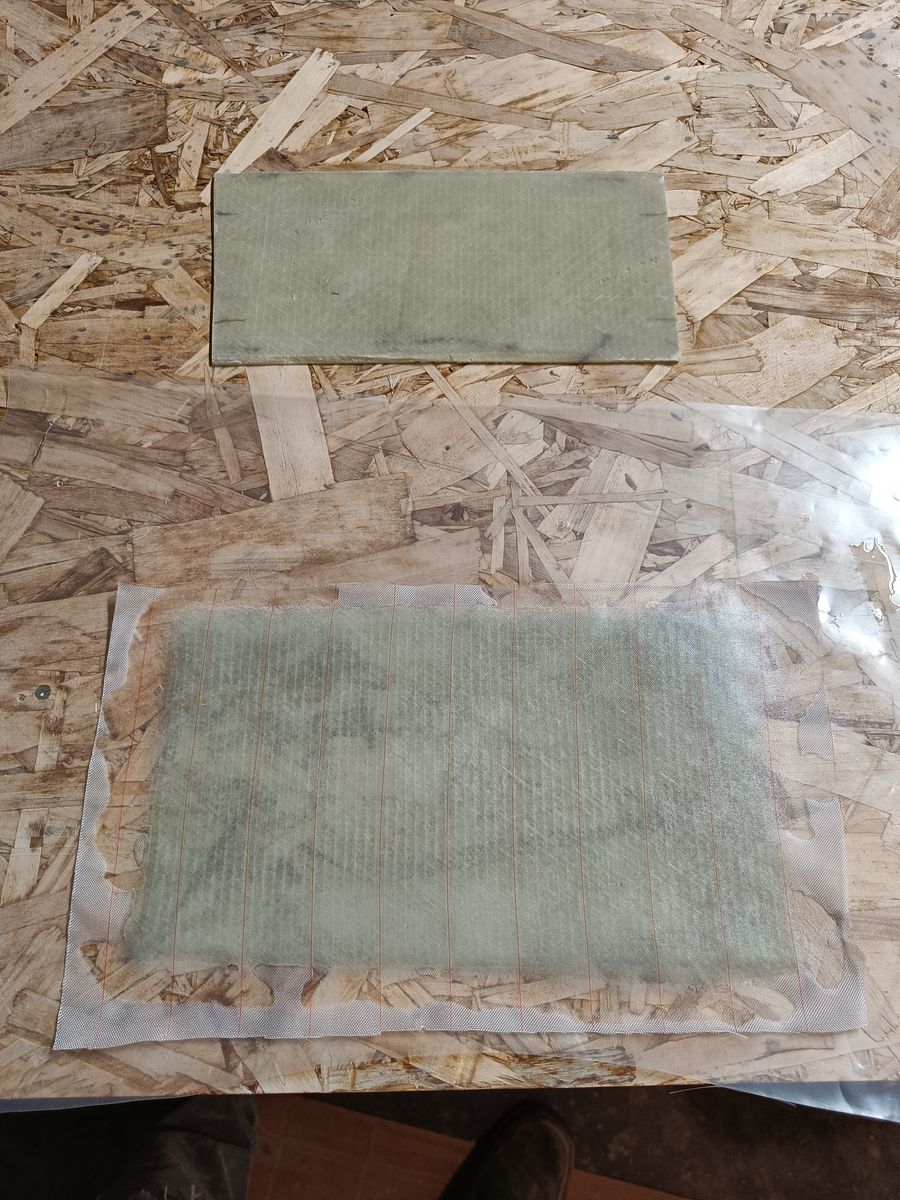
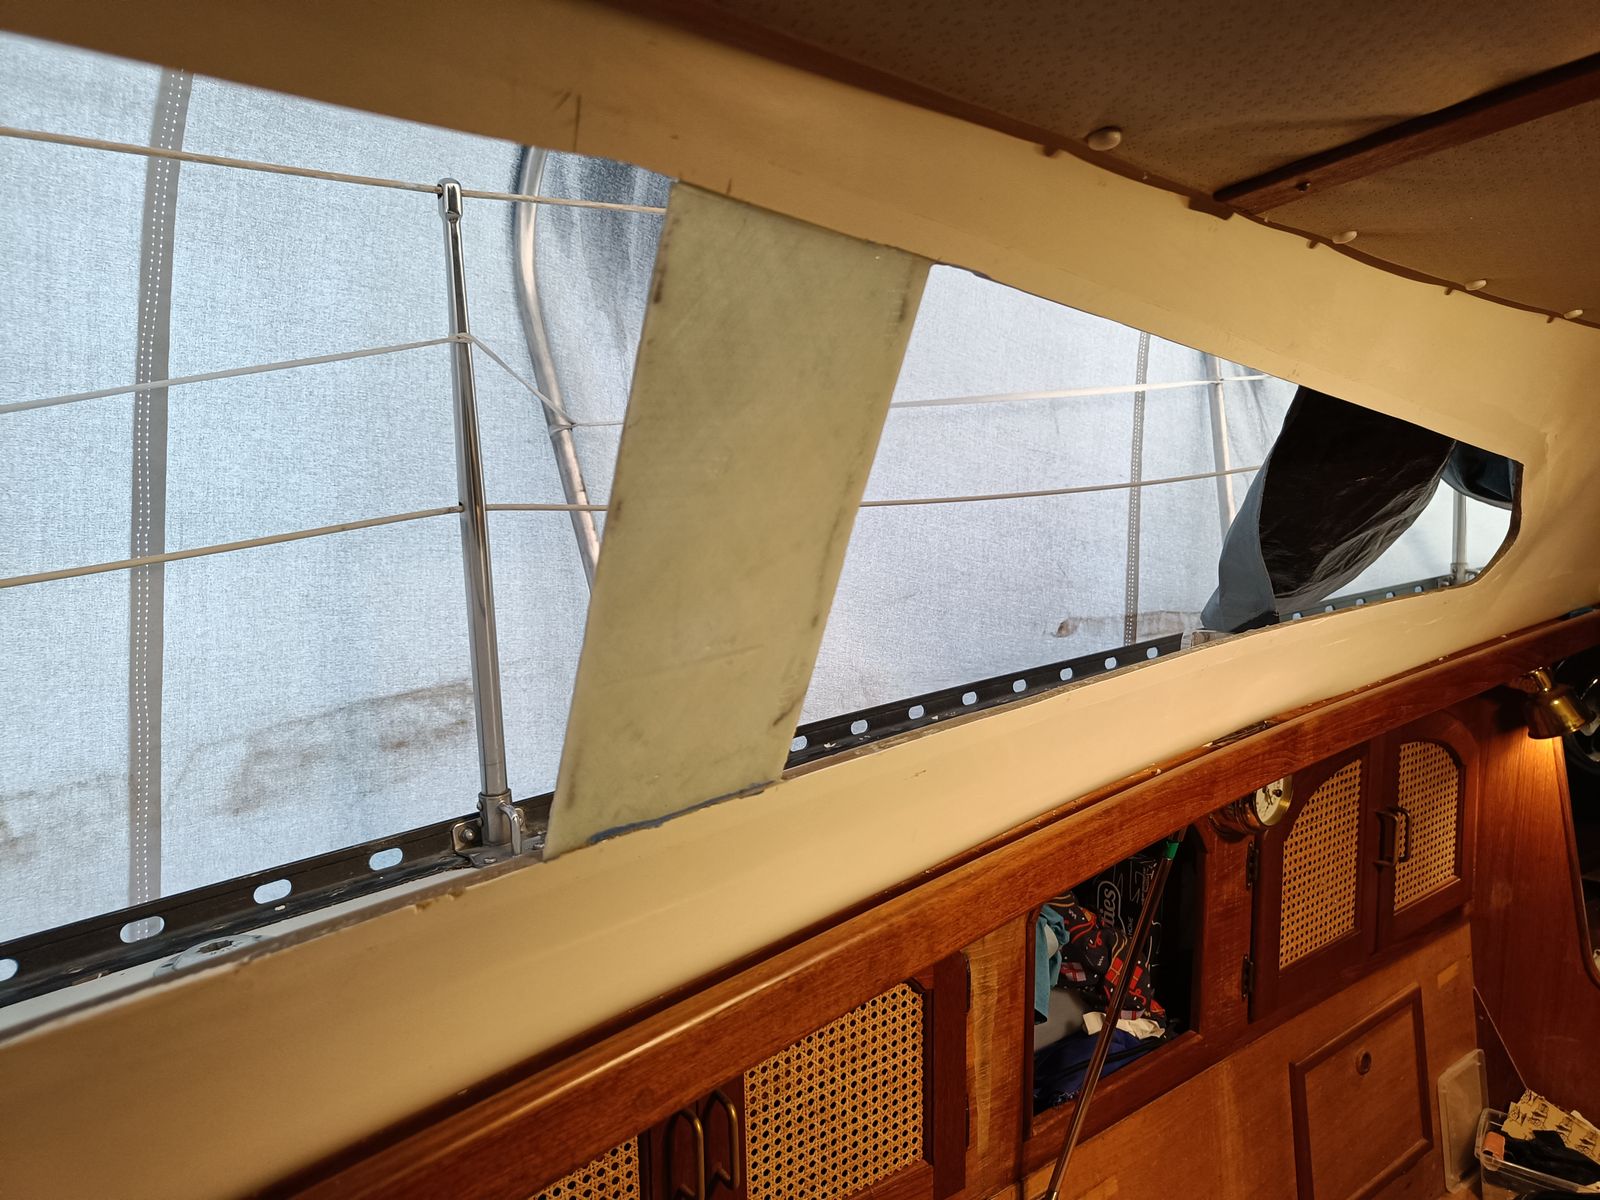
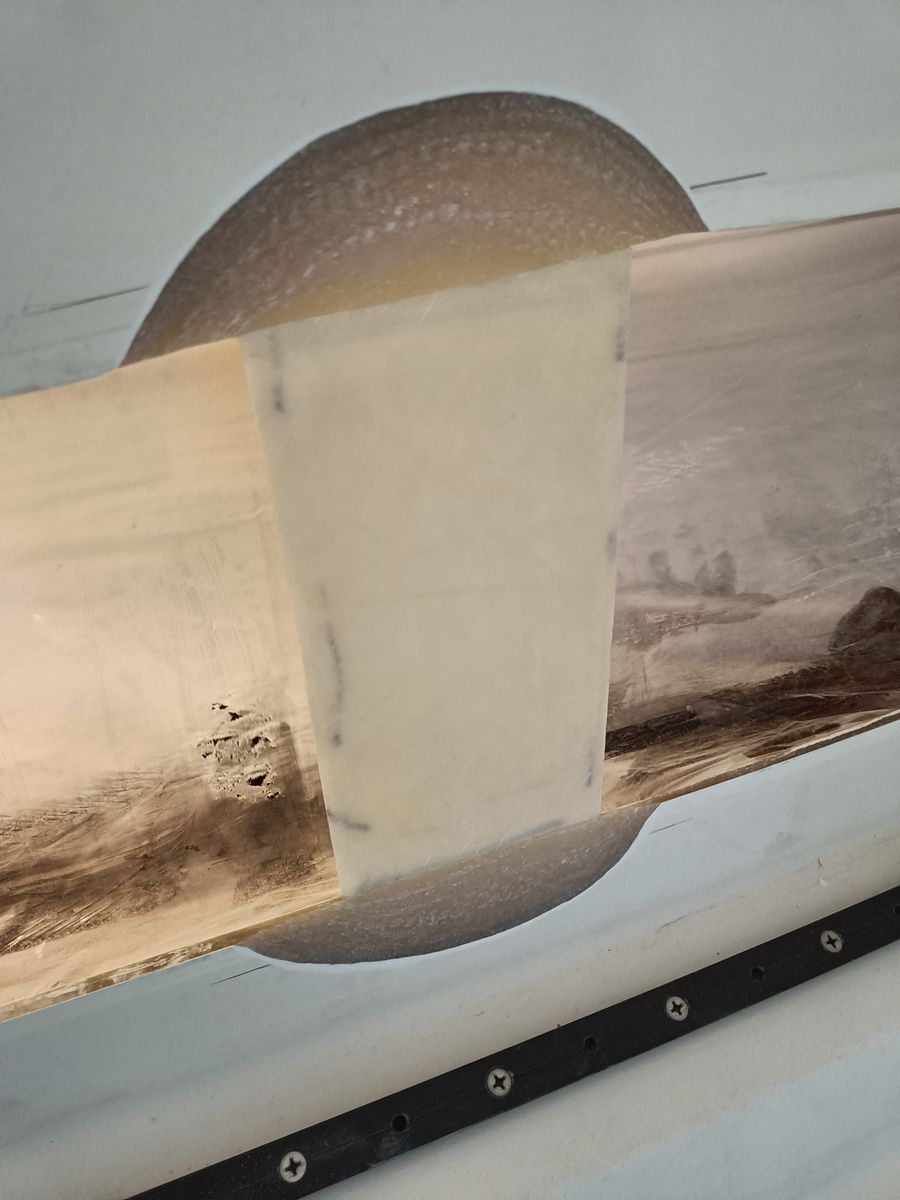
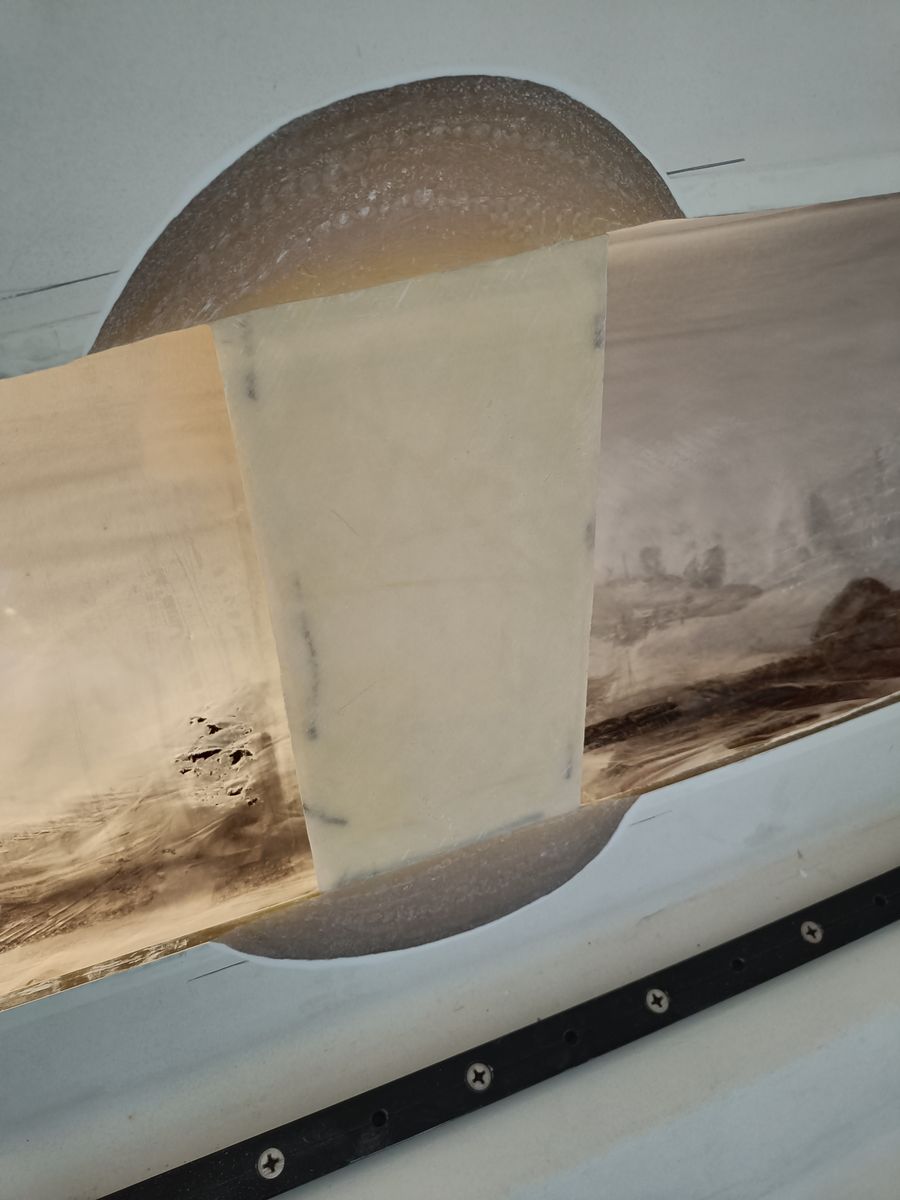
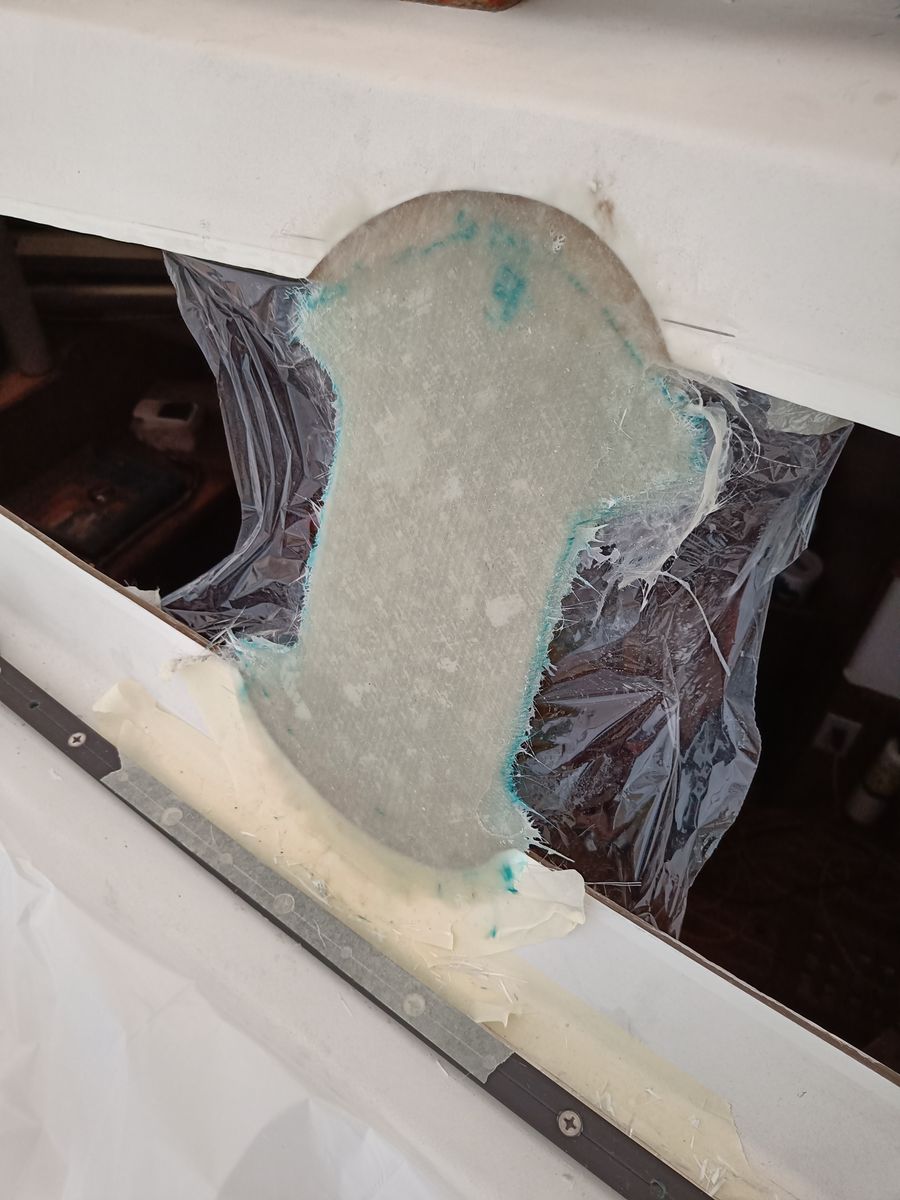
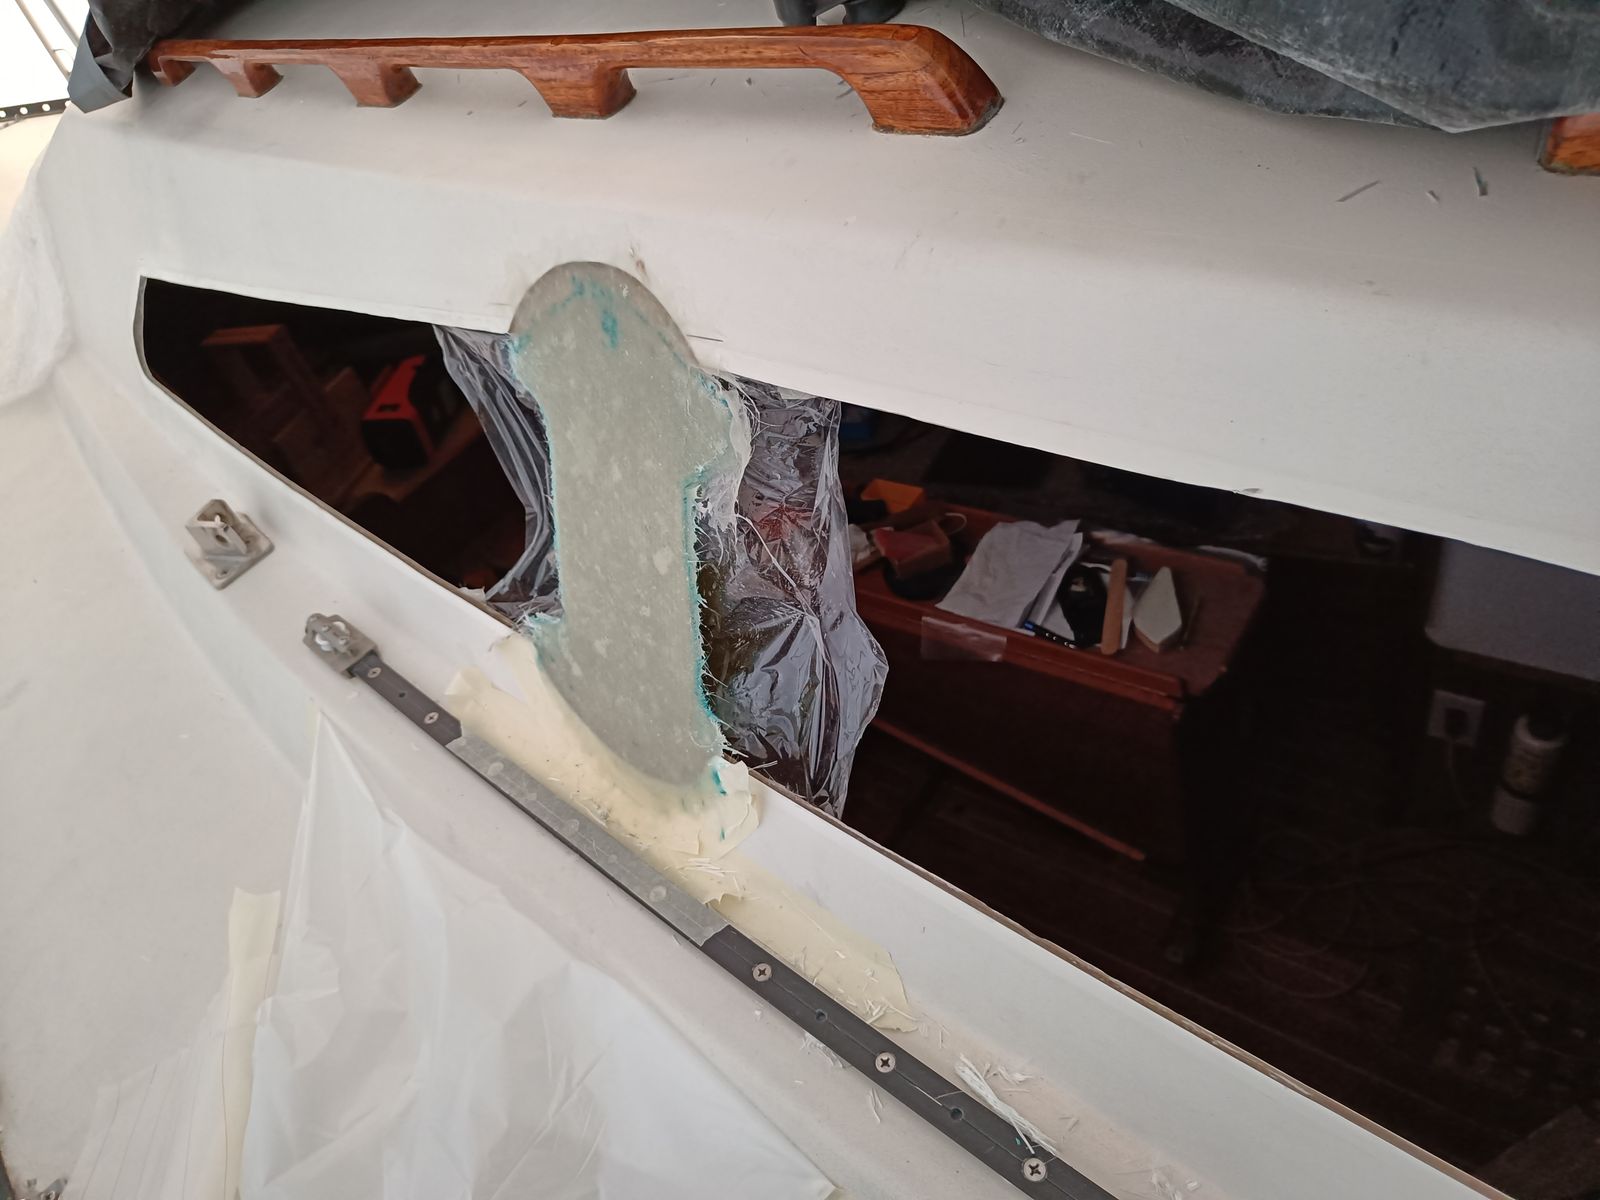
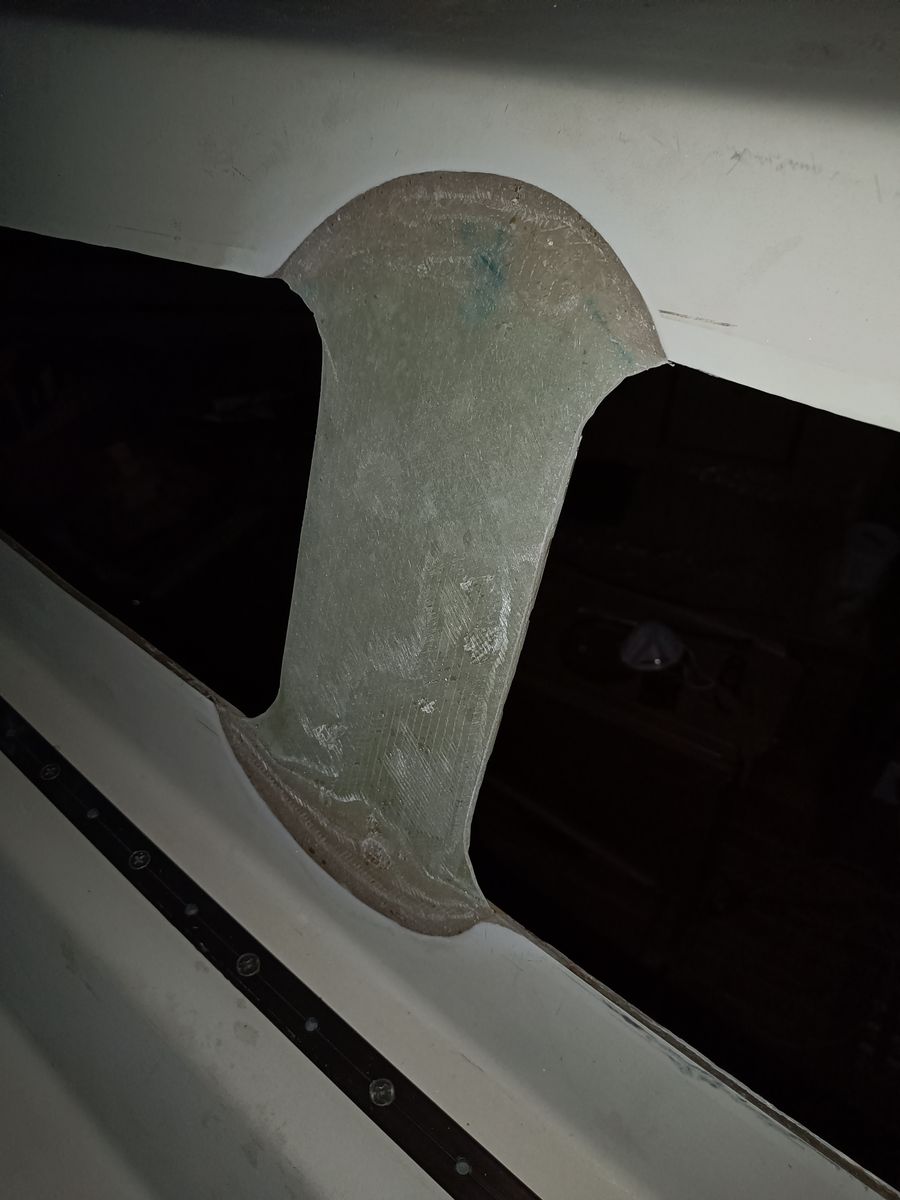
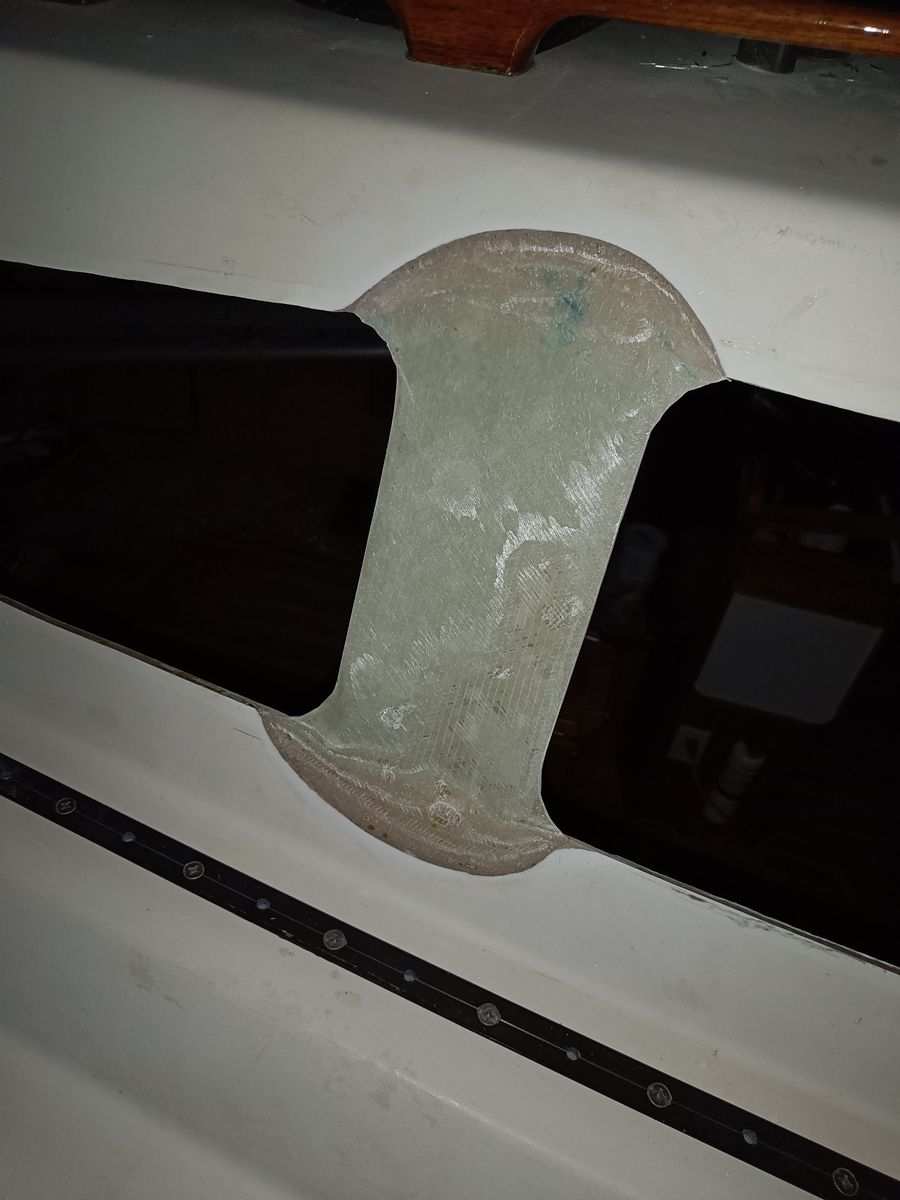
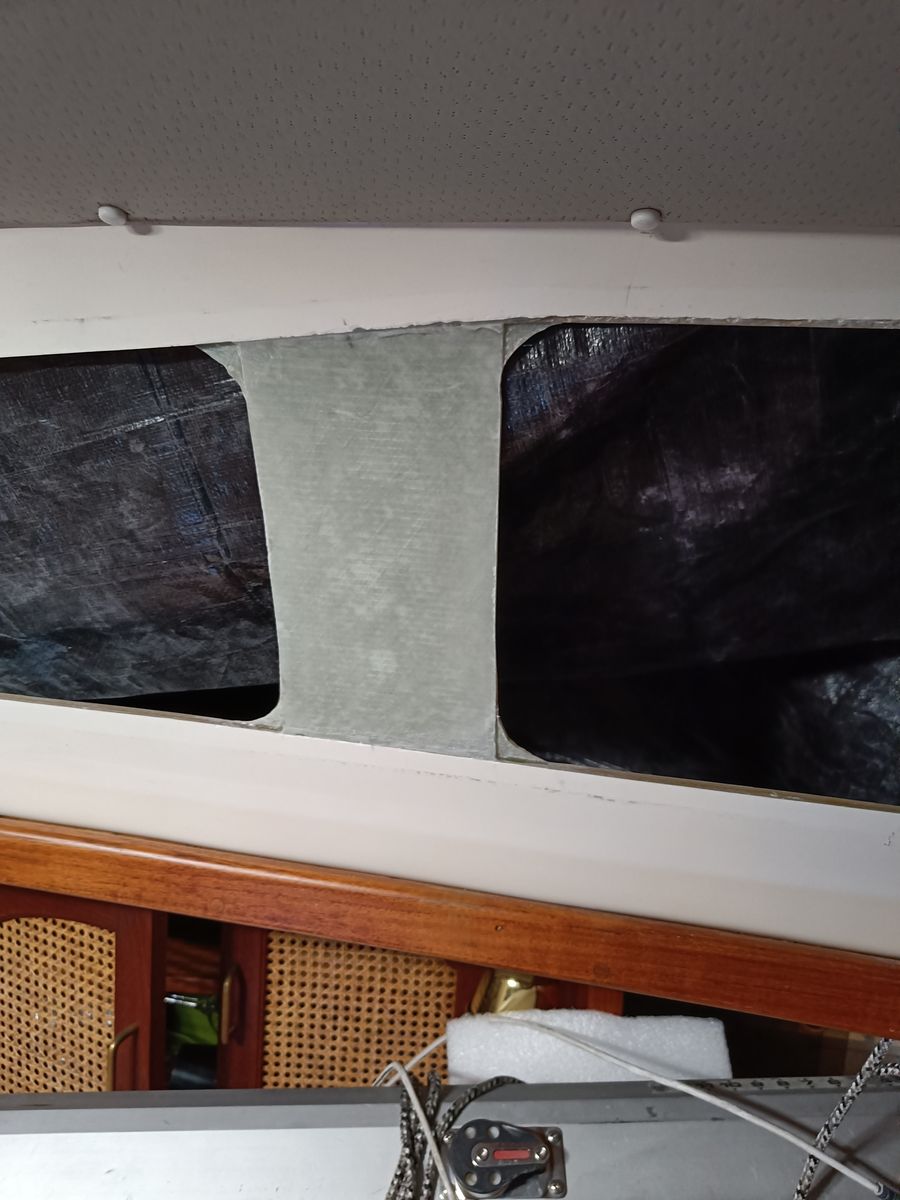
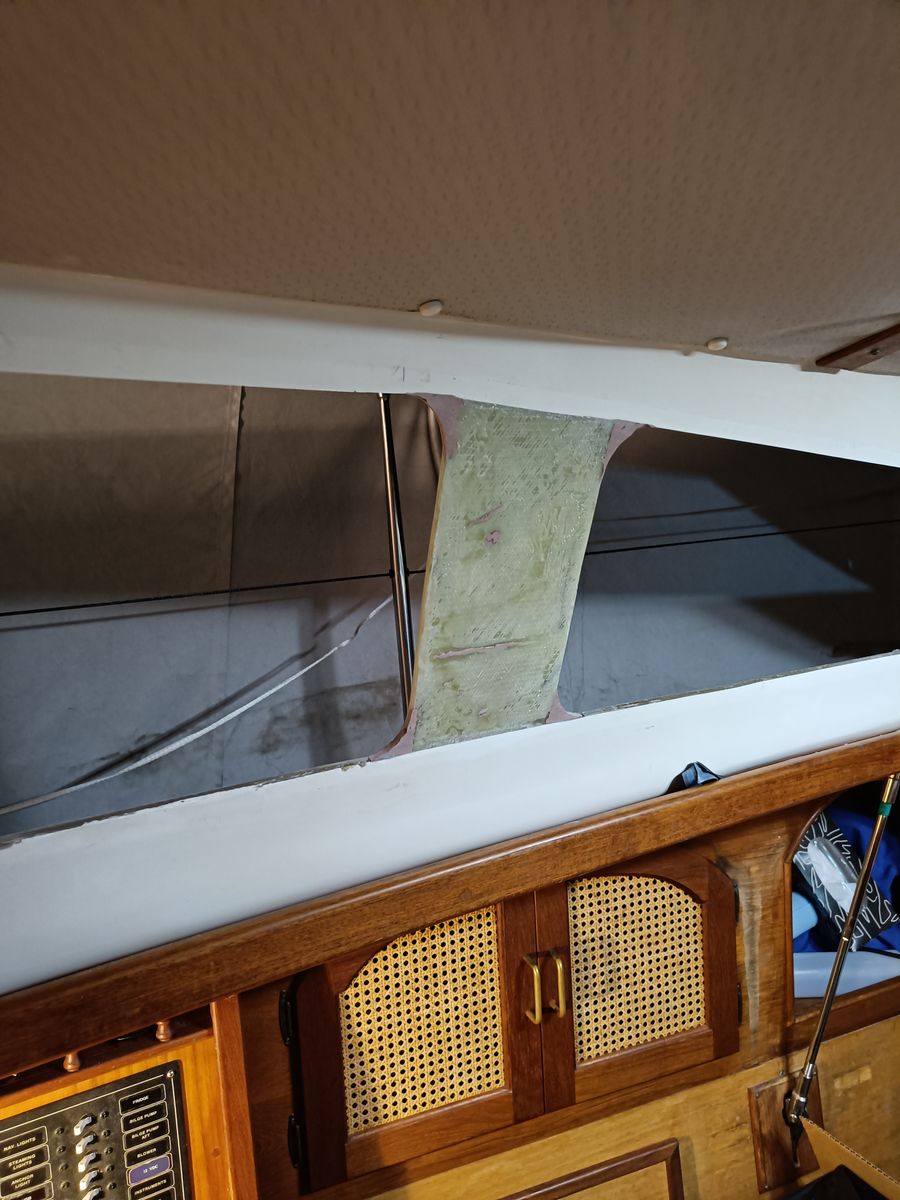
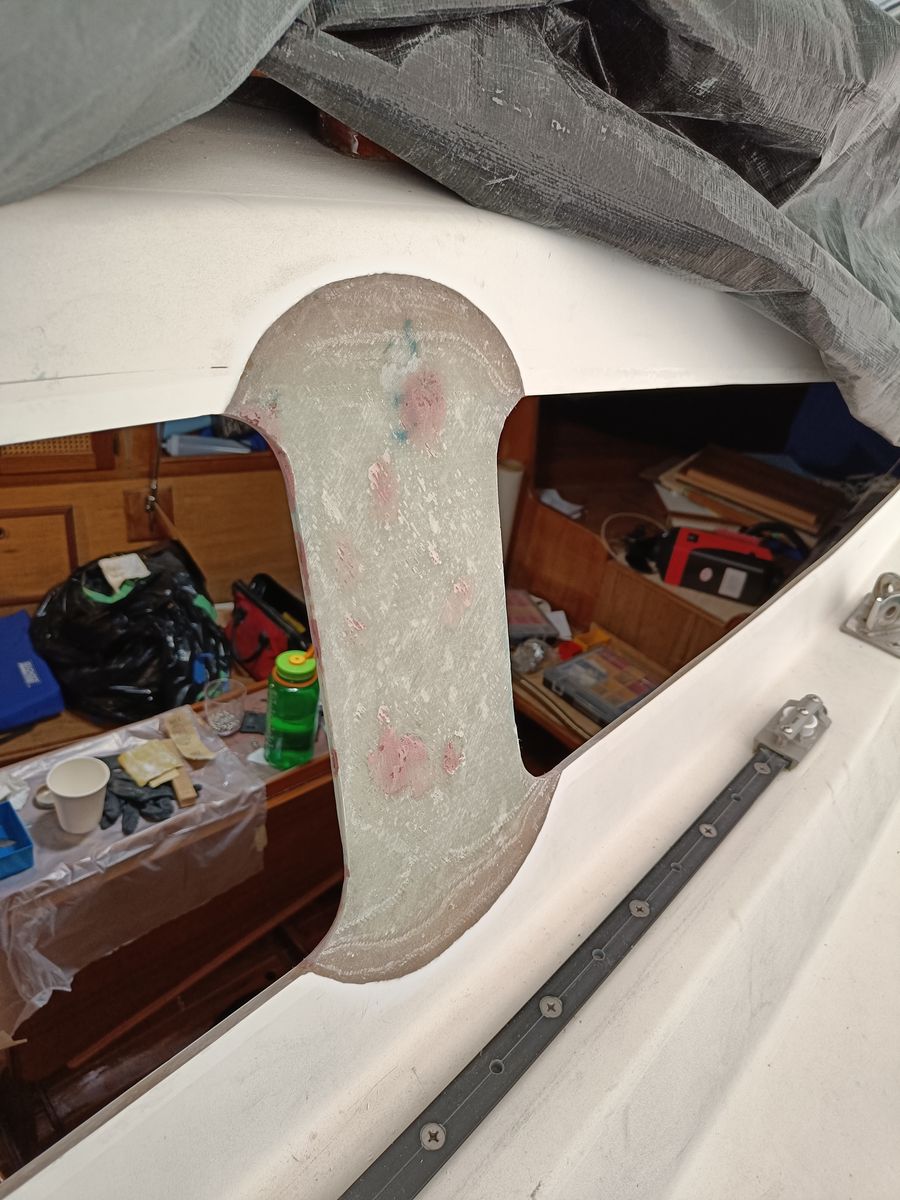
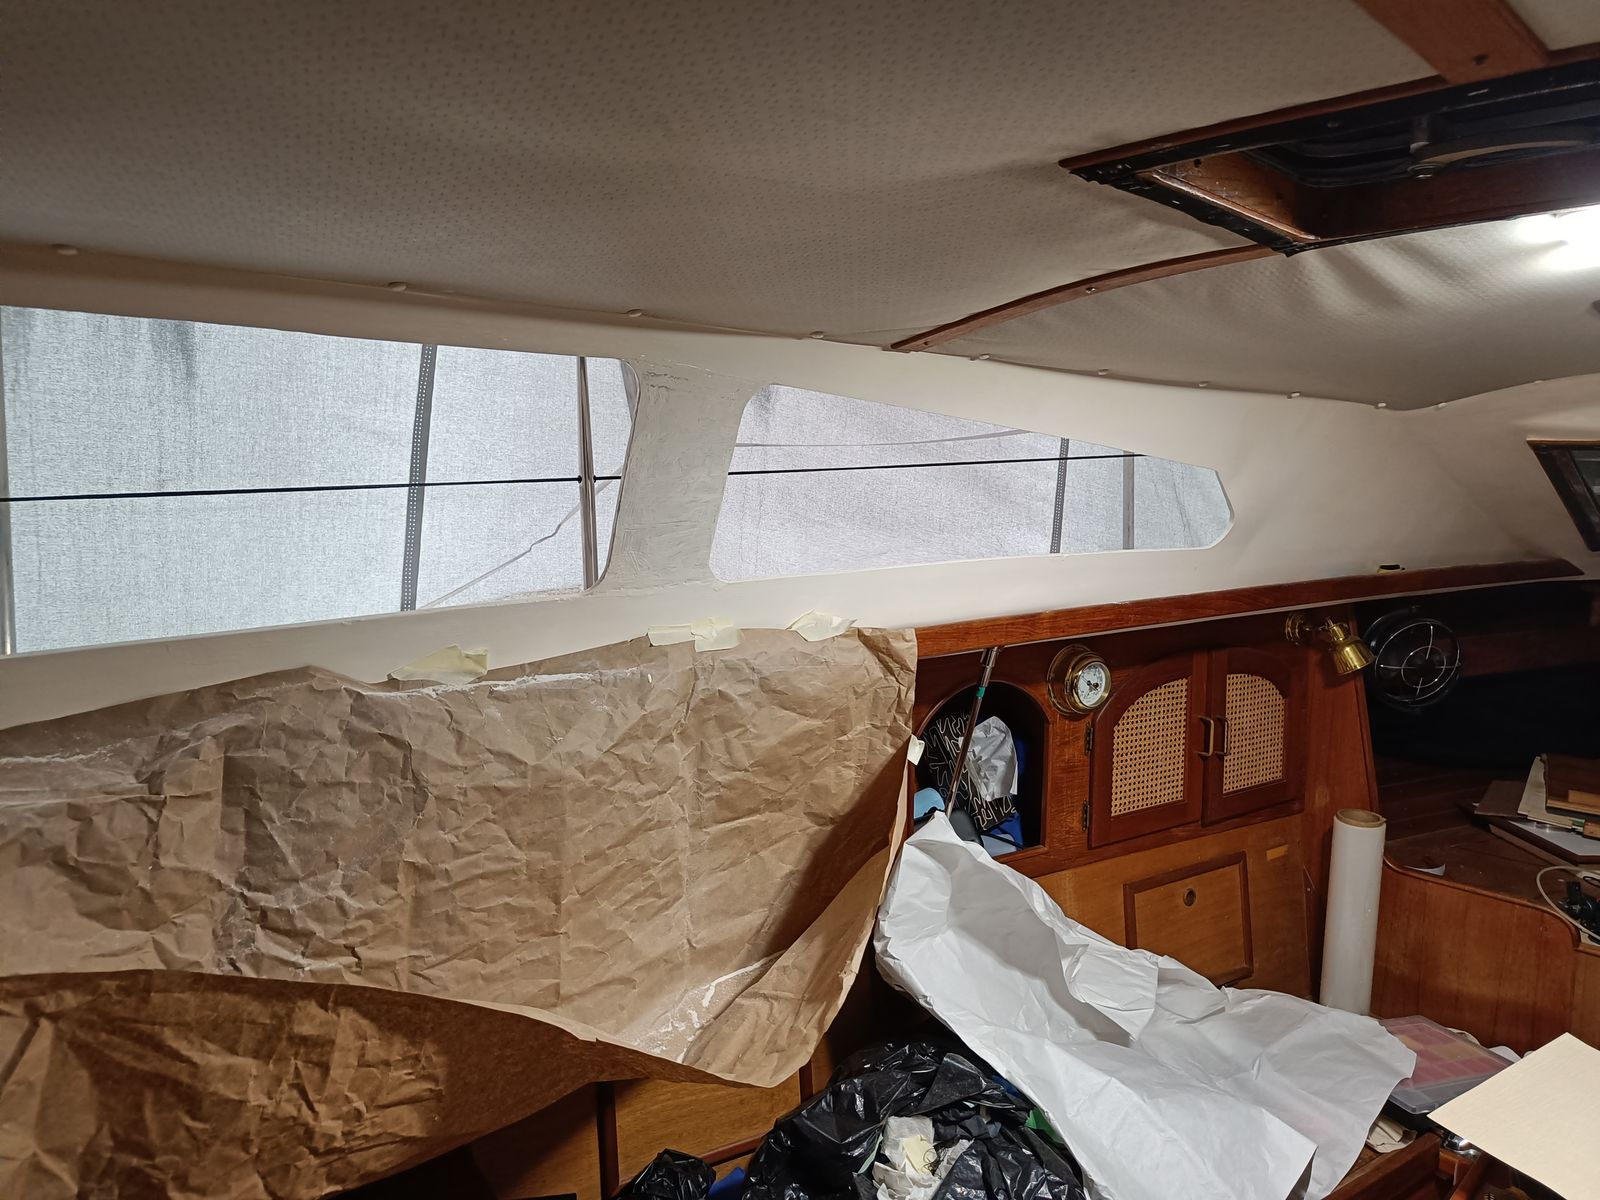
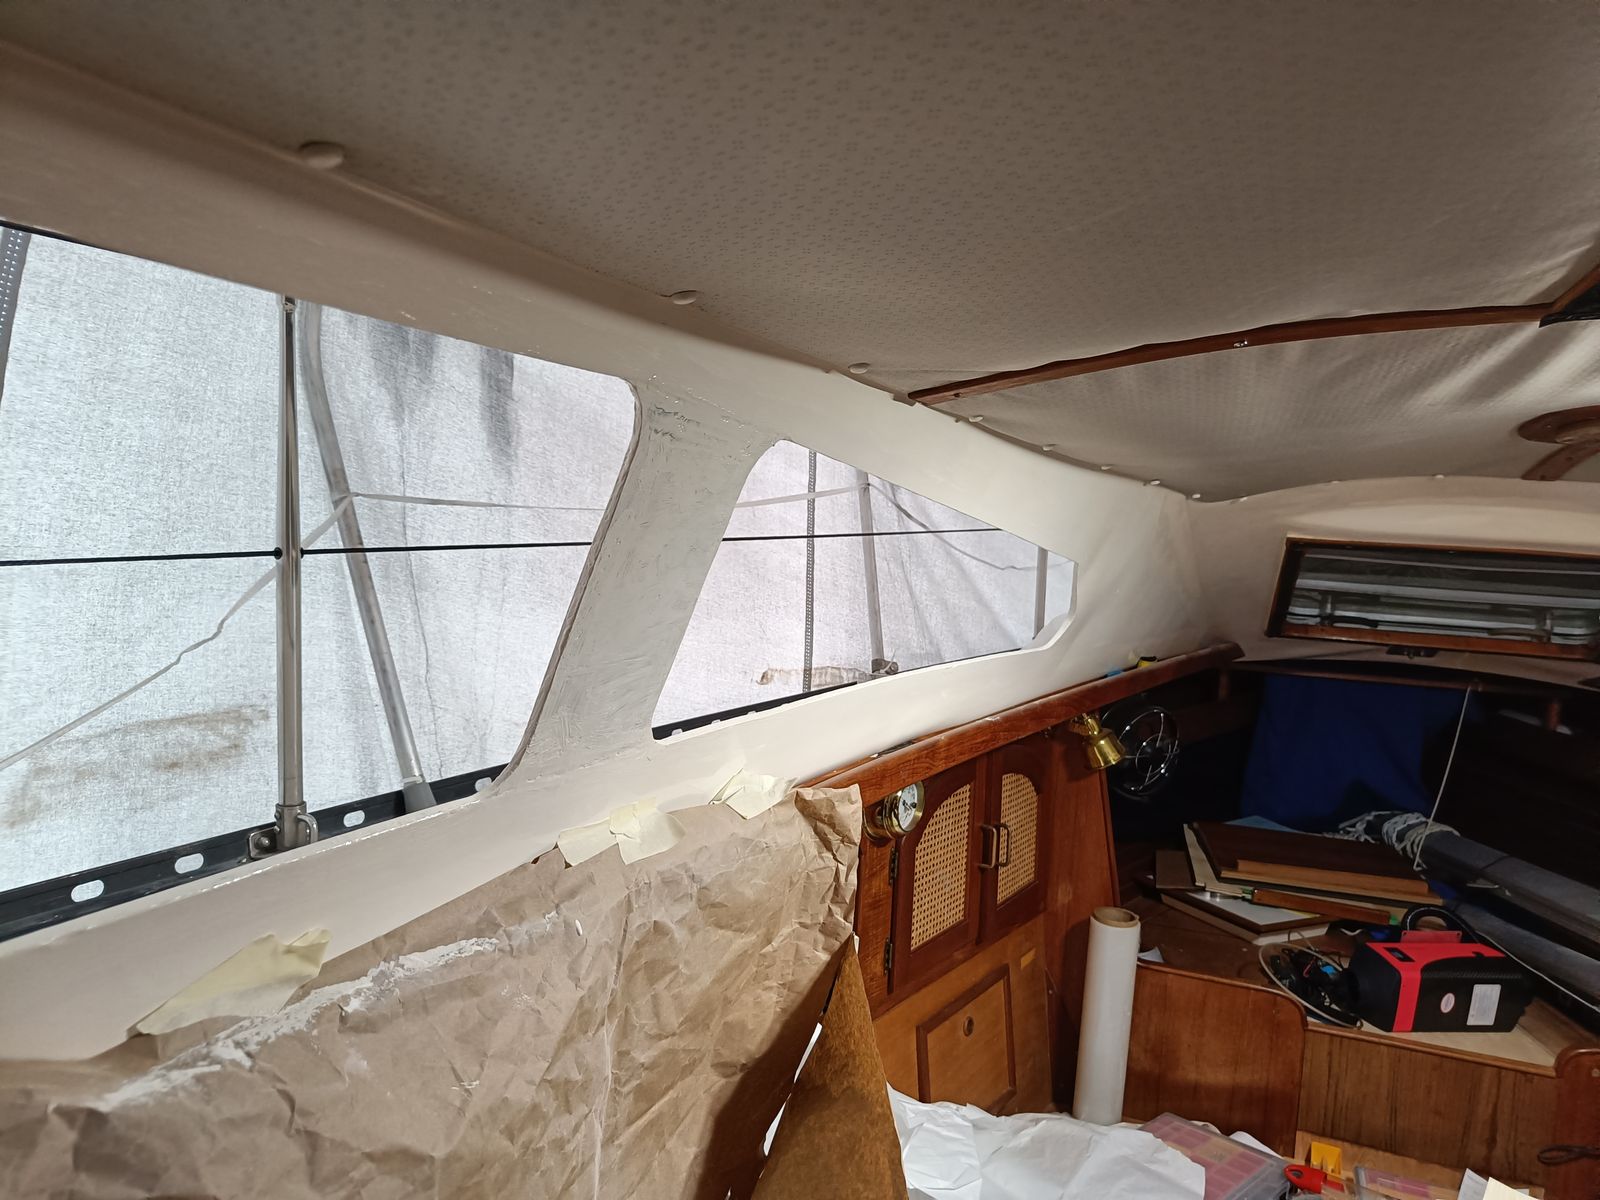
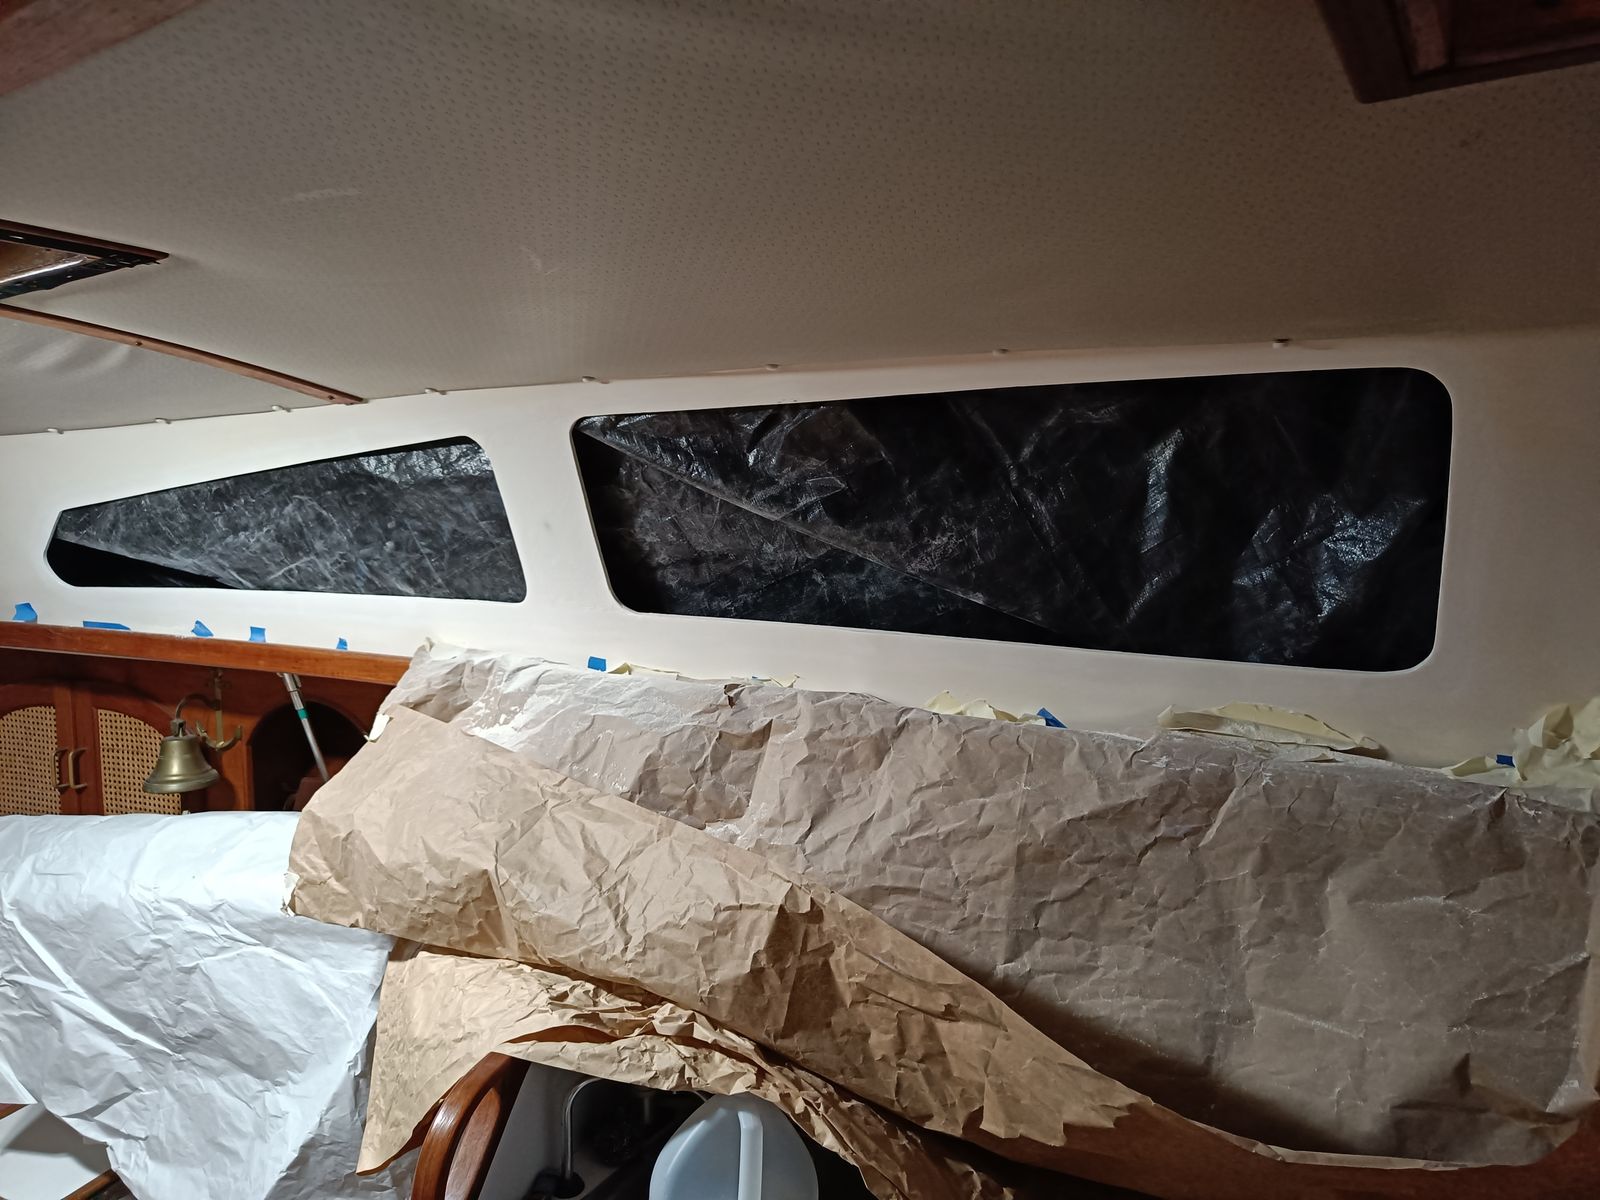
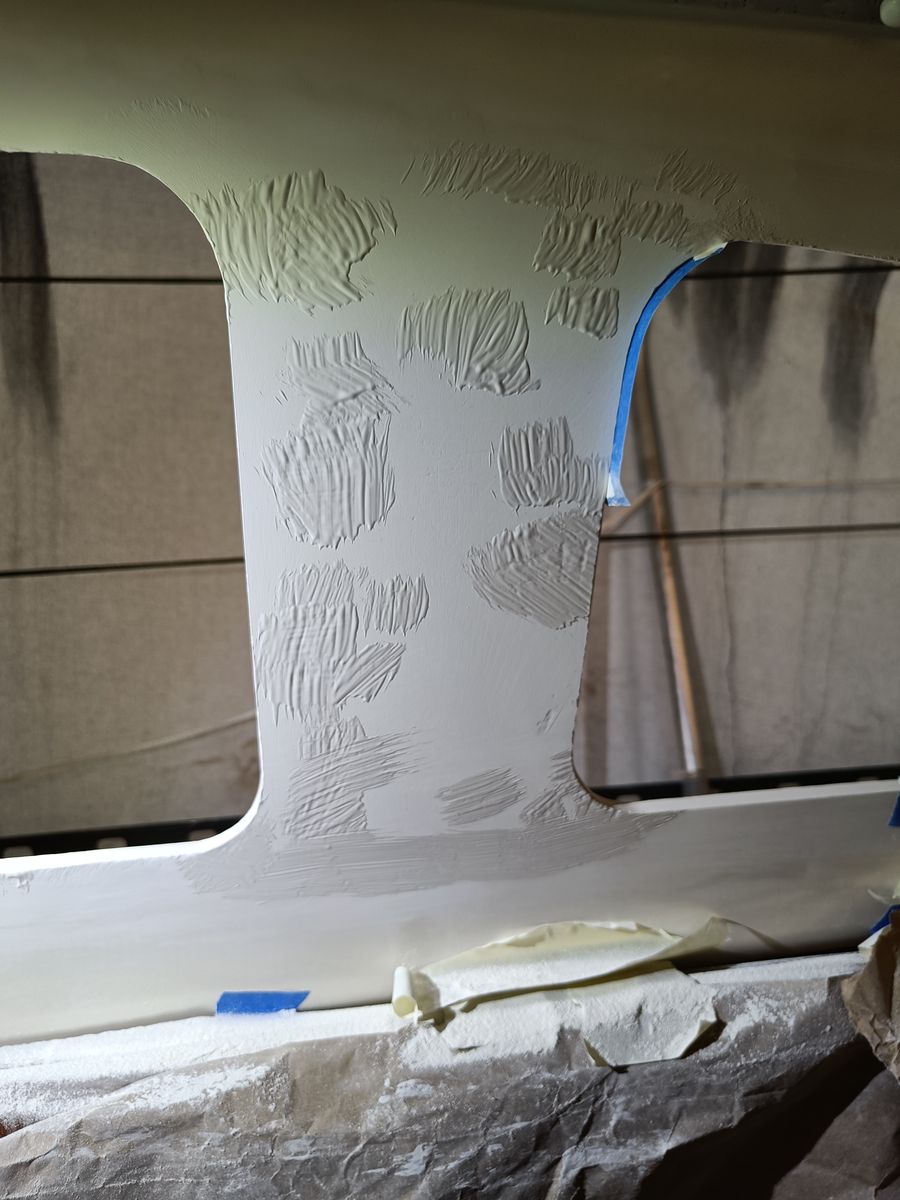
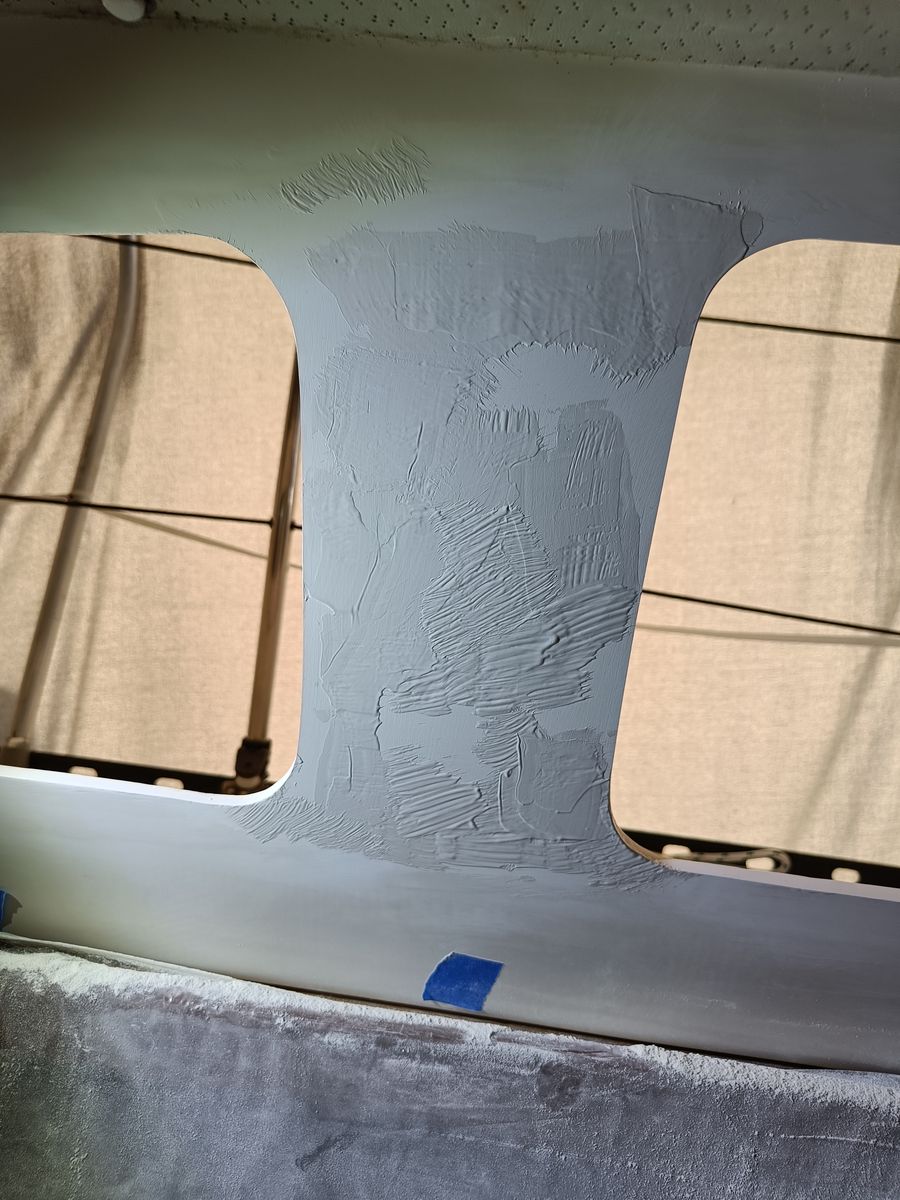
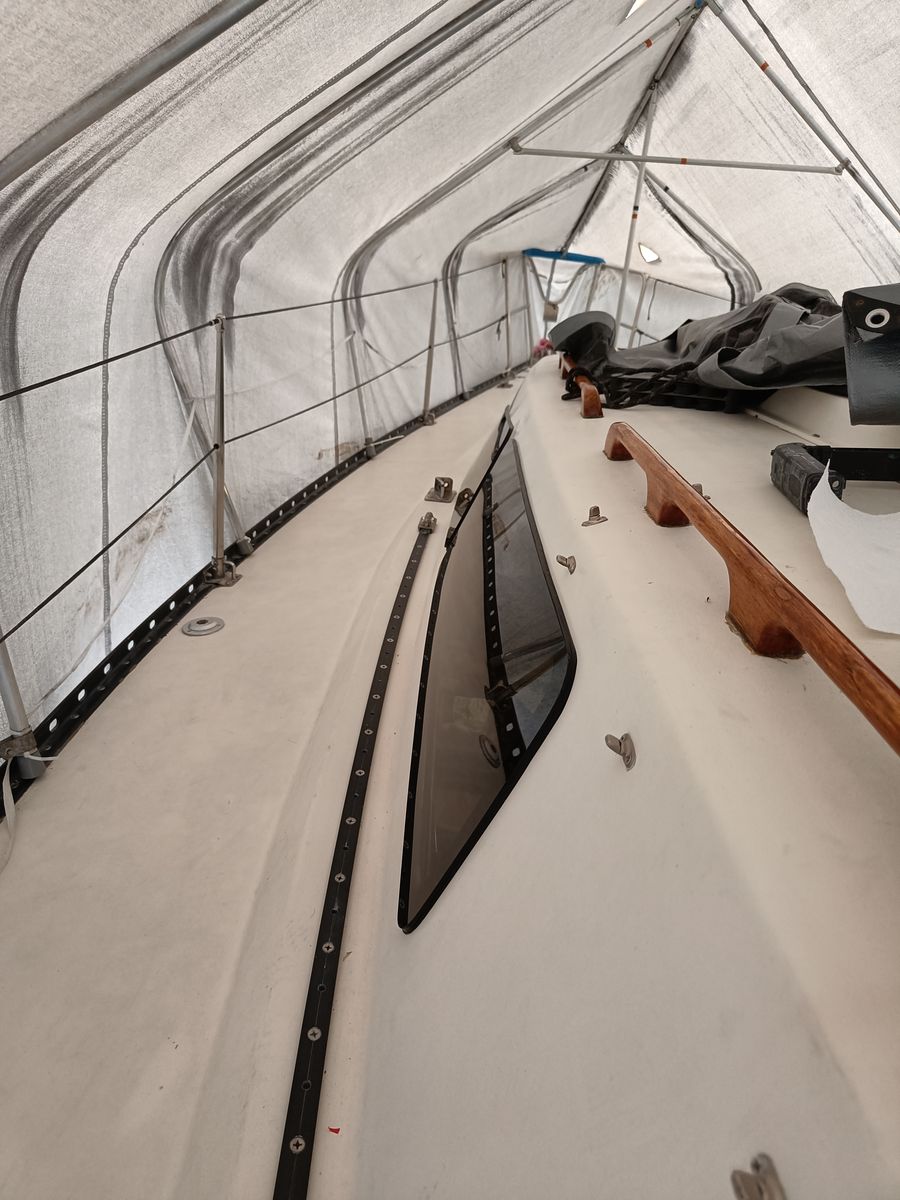
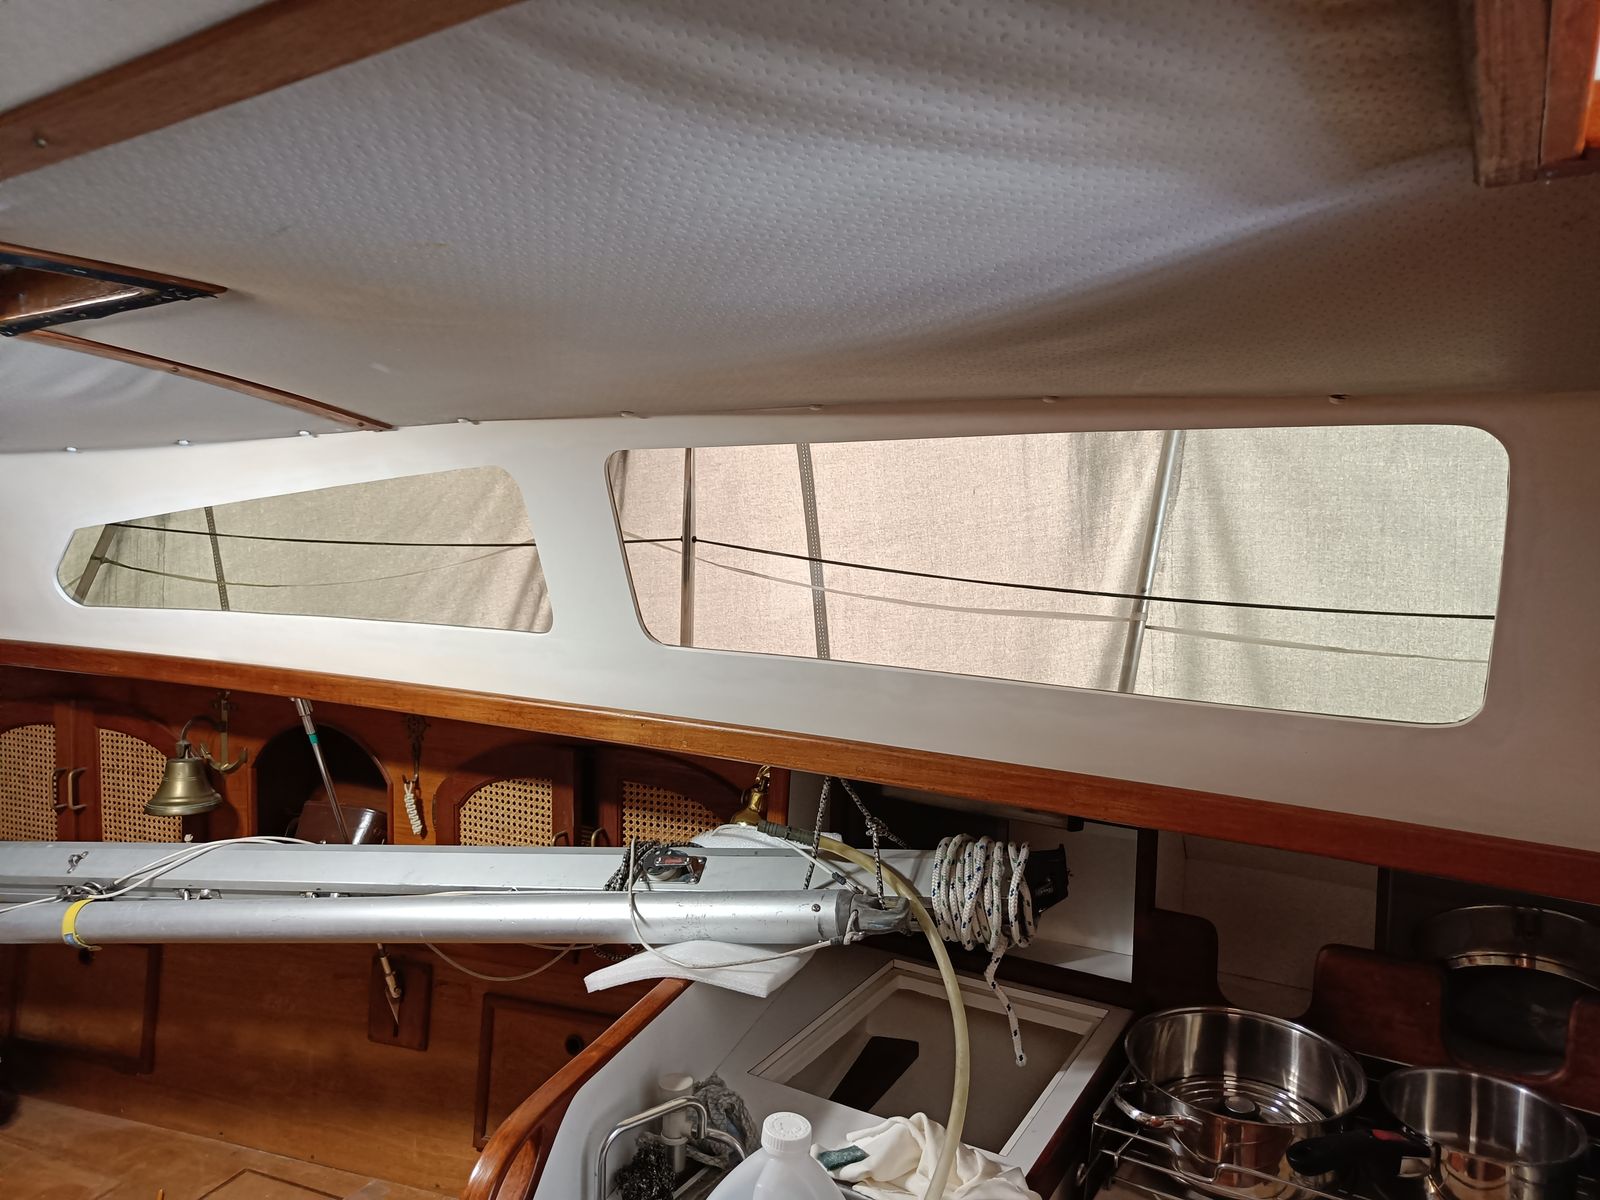
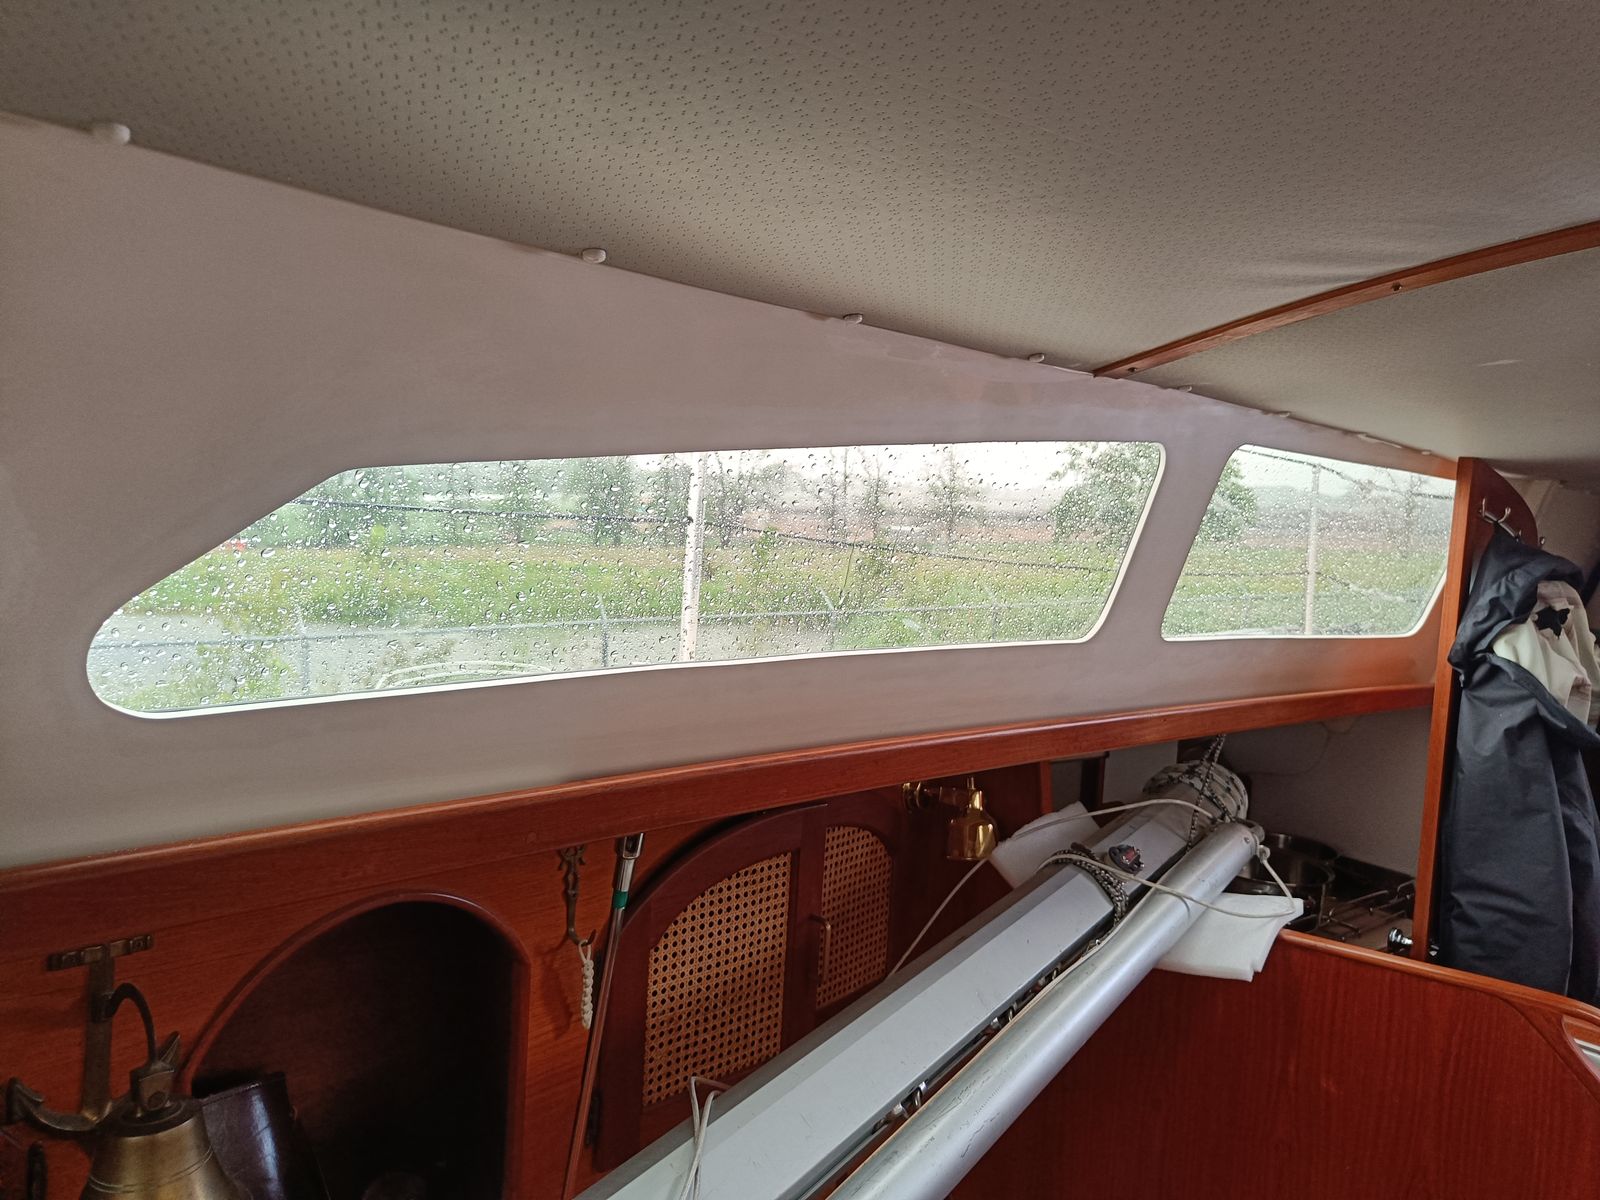
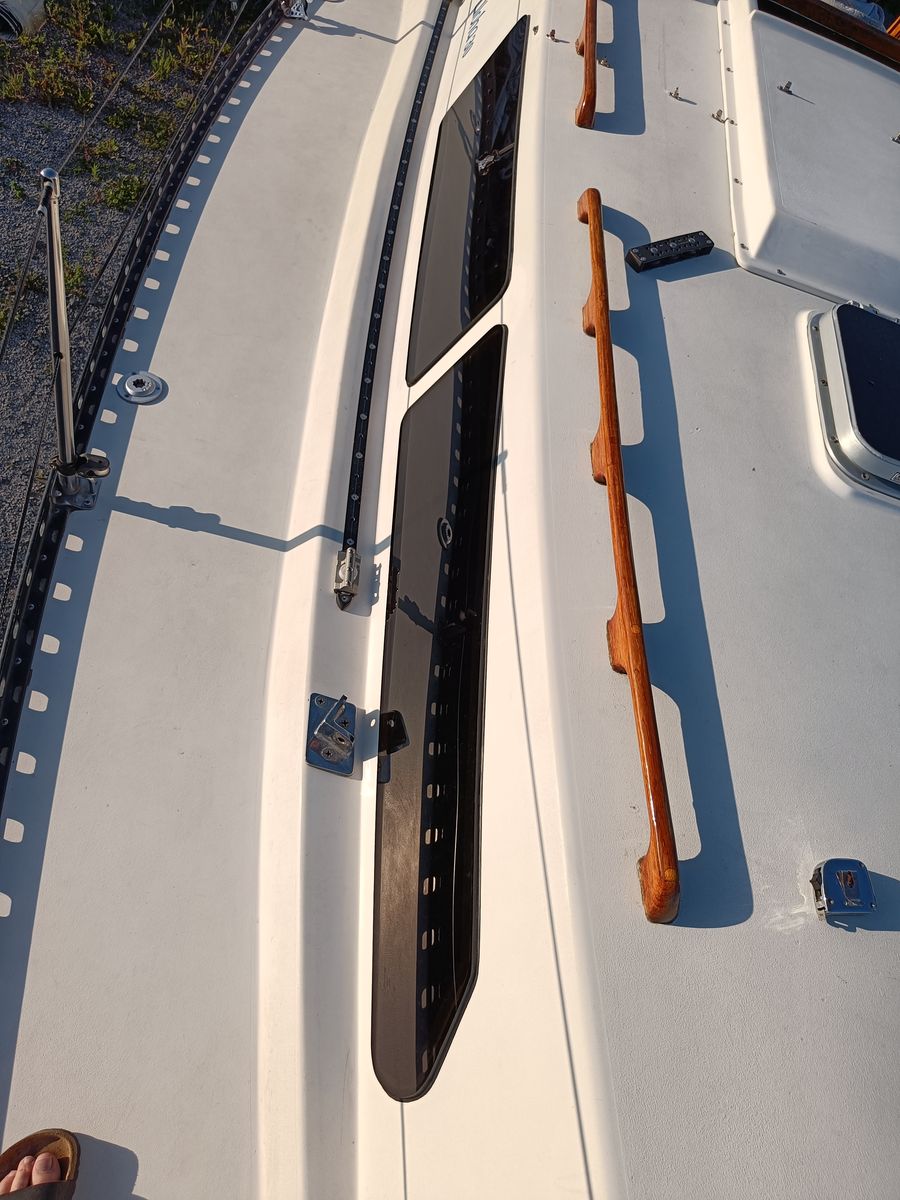
That ment changing the port layout, so I created a little backer plate, and then glassed in new supports to split the long port into two. Laying up glass on the vertical ended up being a messy and difficult job, but it did end up working out. I think it also seems to stiffen the deck top.
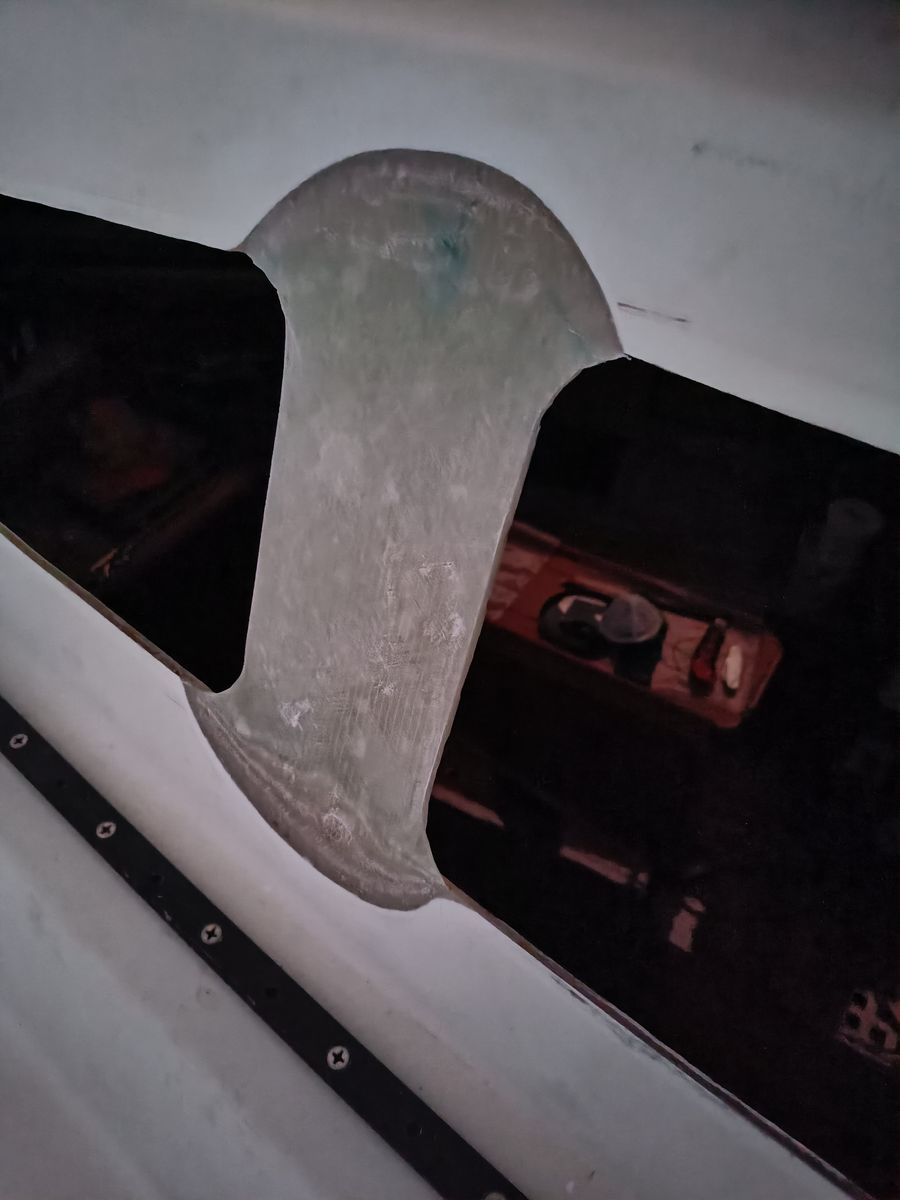
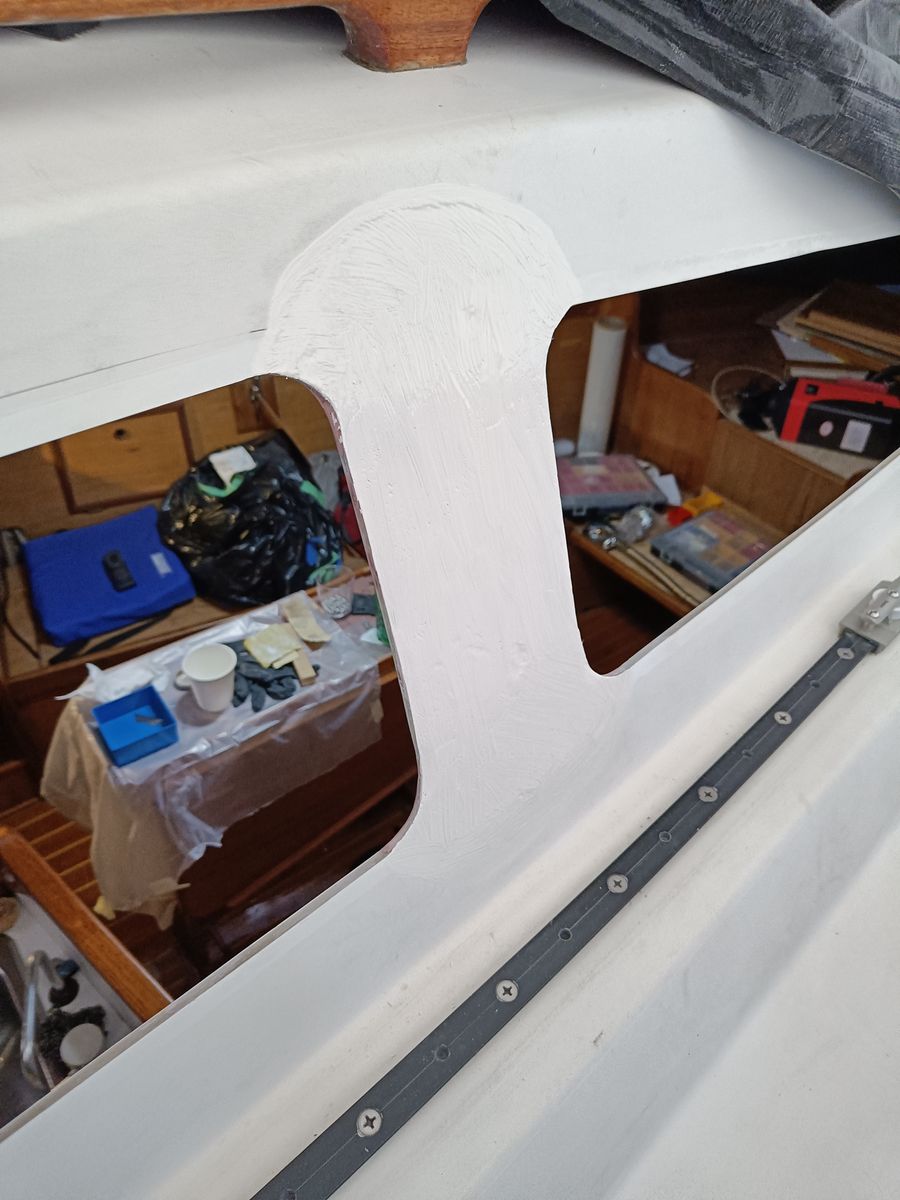
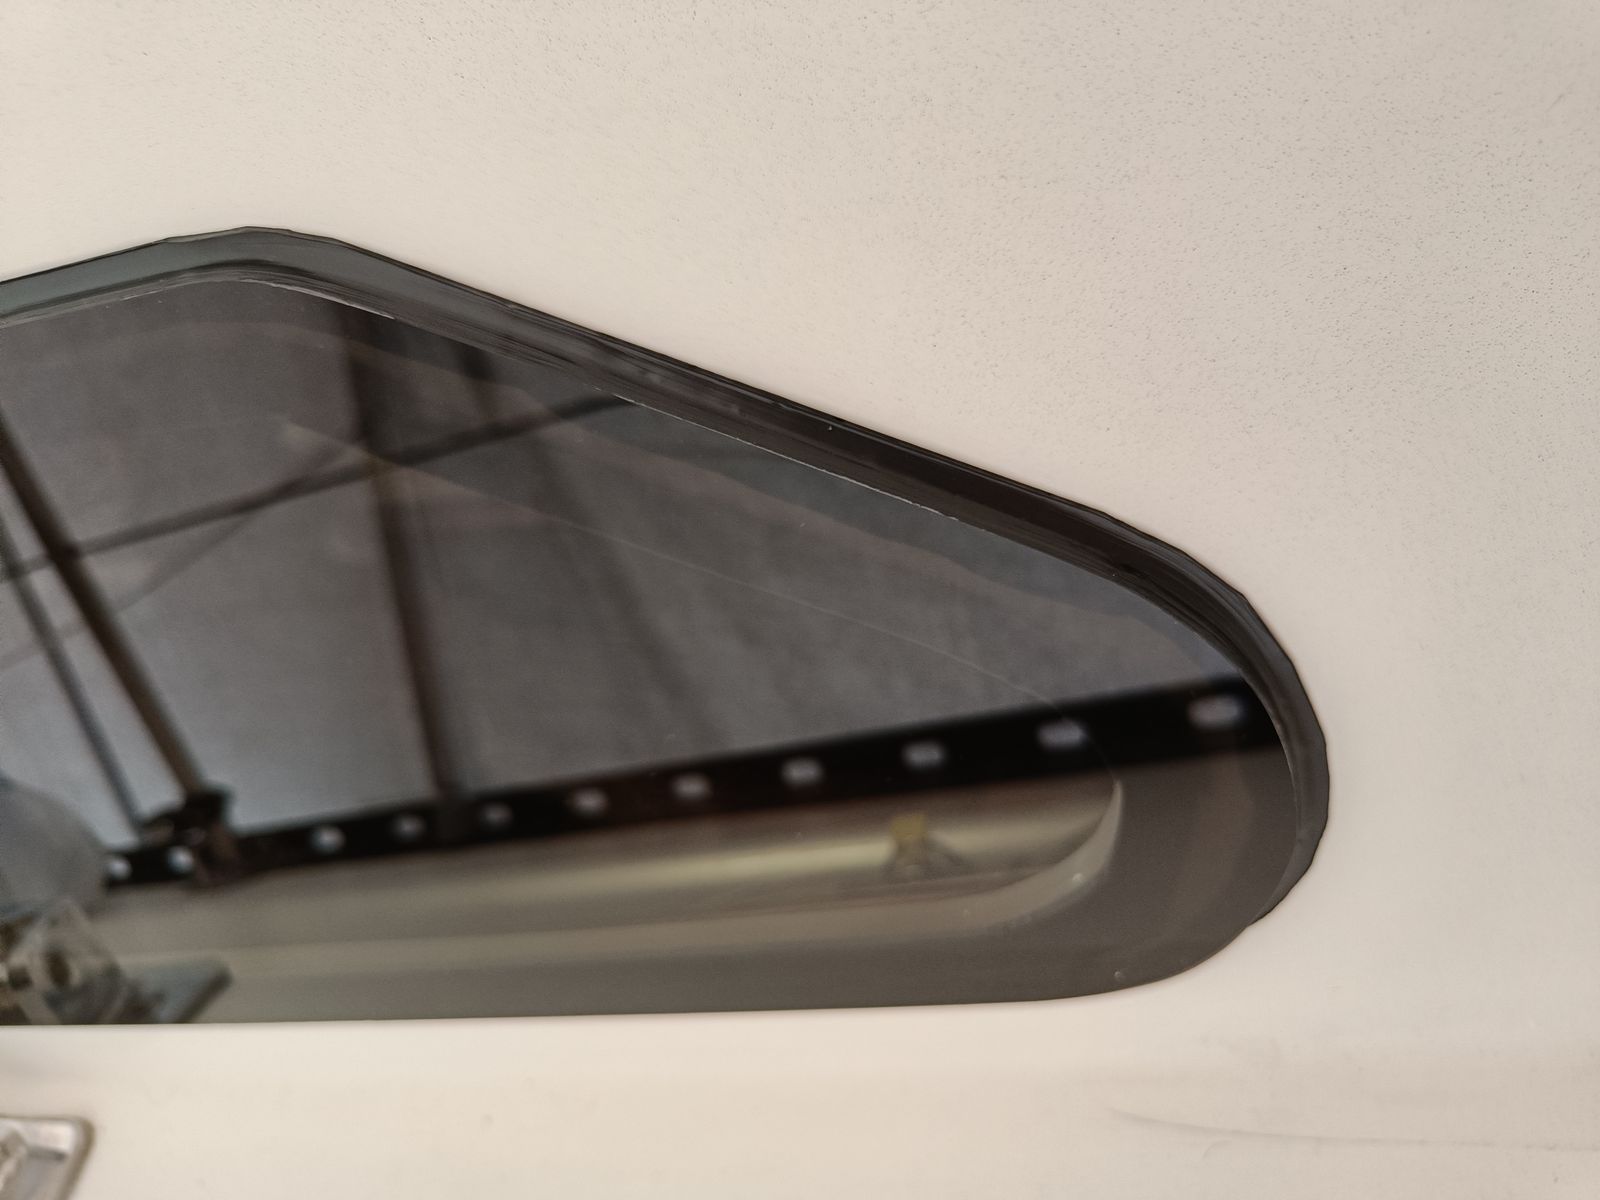
Once that was done, I then went around and starting finishing the port hole cutouts and gelcoating the supports. This was way more work than I was expecting and took many rounds of gelcoating to get everything nice a fair.
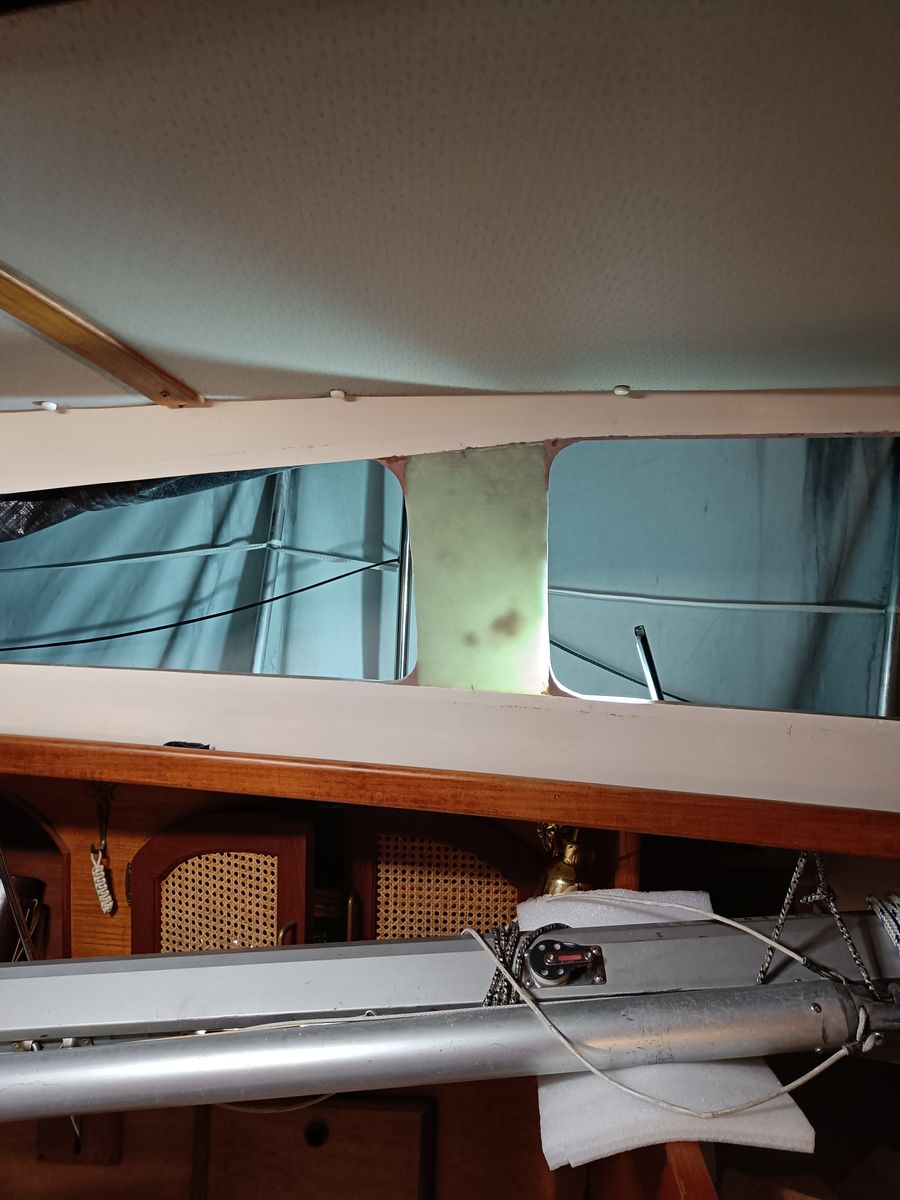
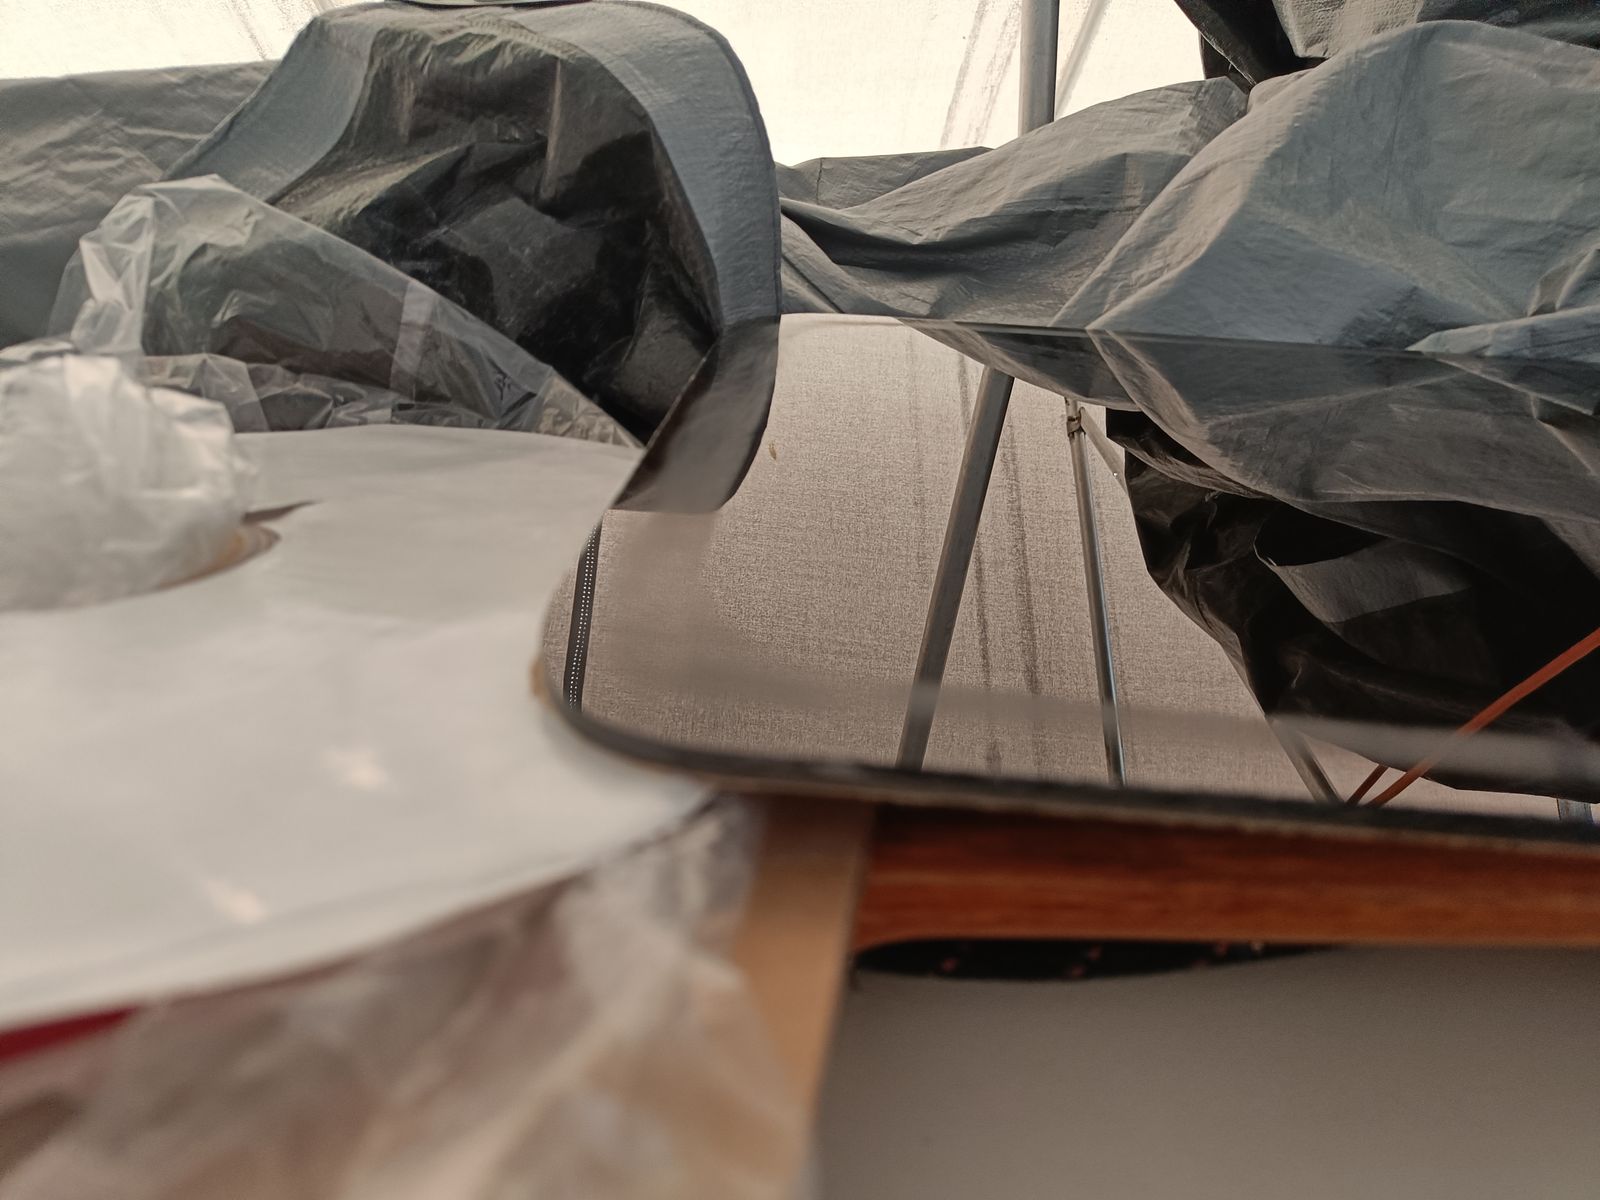
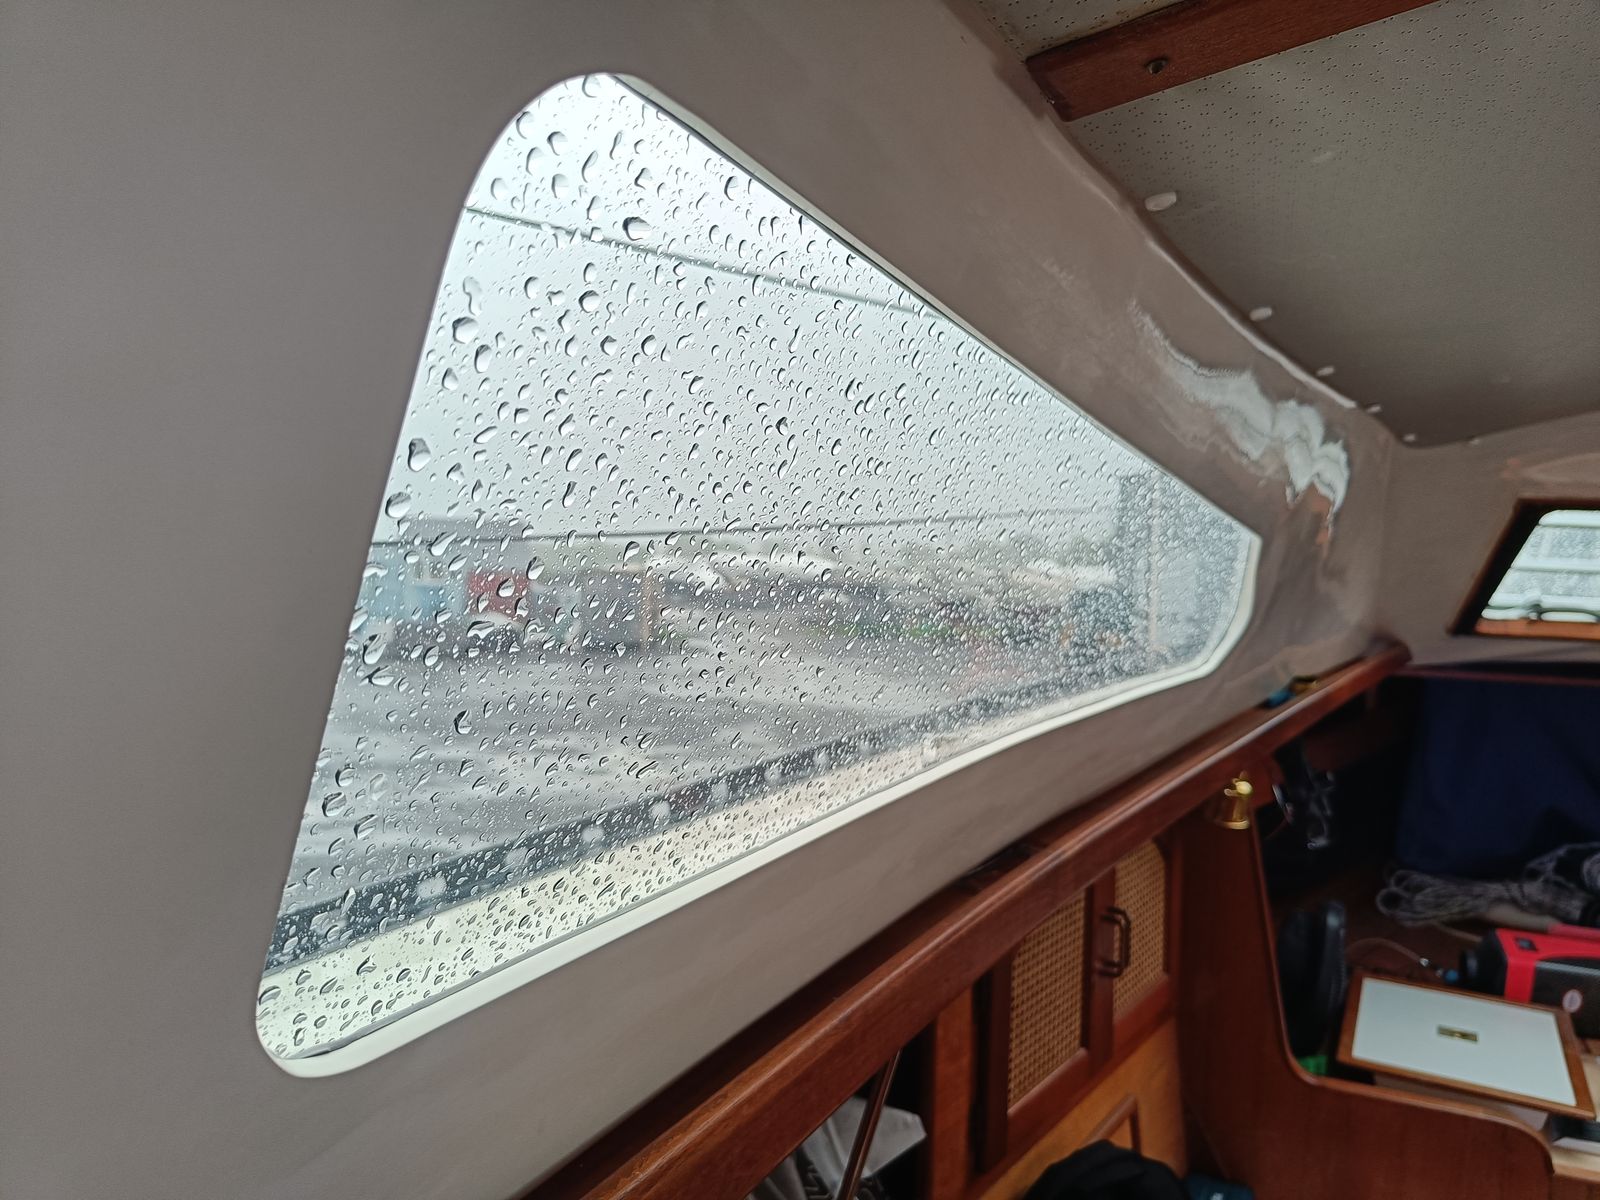
I then was able to get the acrylic cut and then it was just a matter of actually installing it.
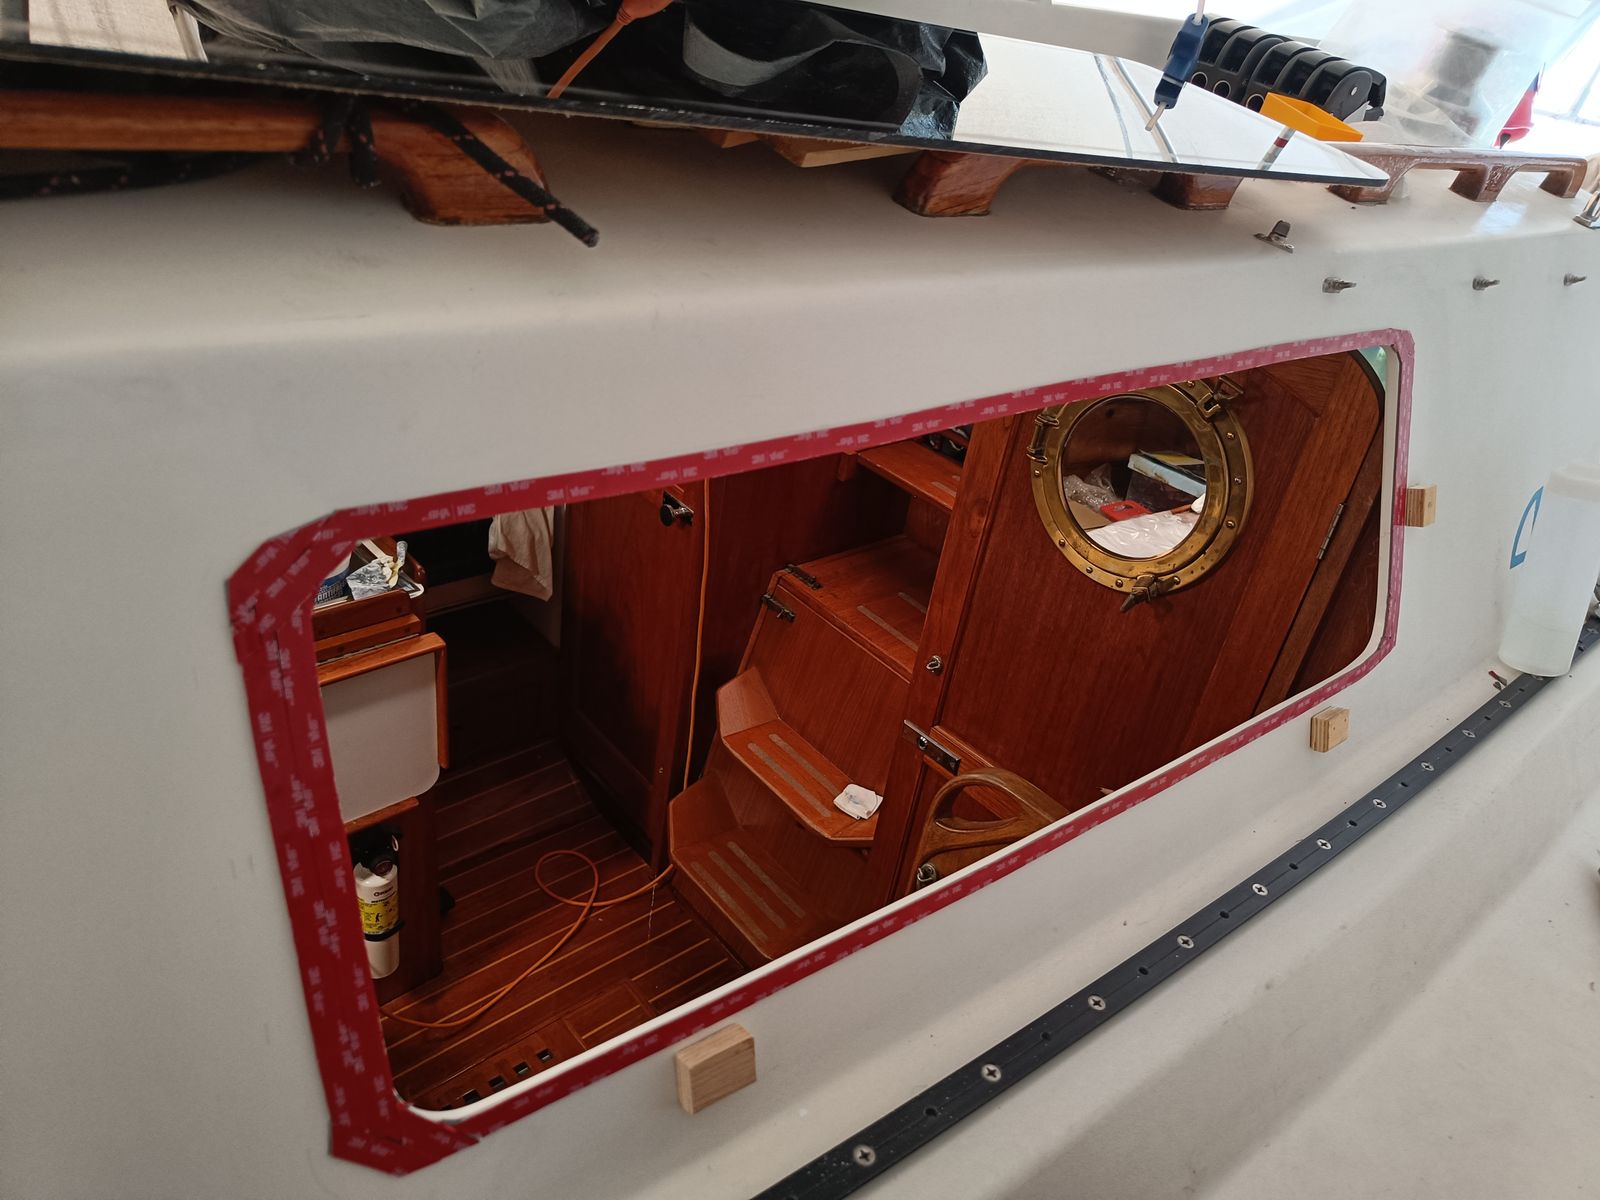
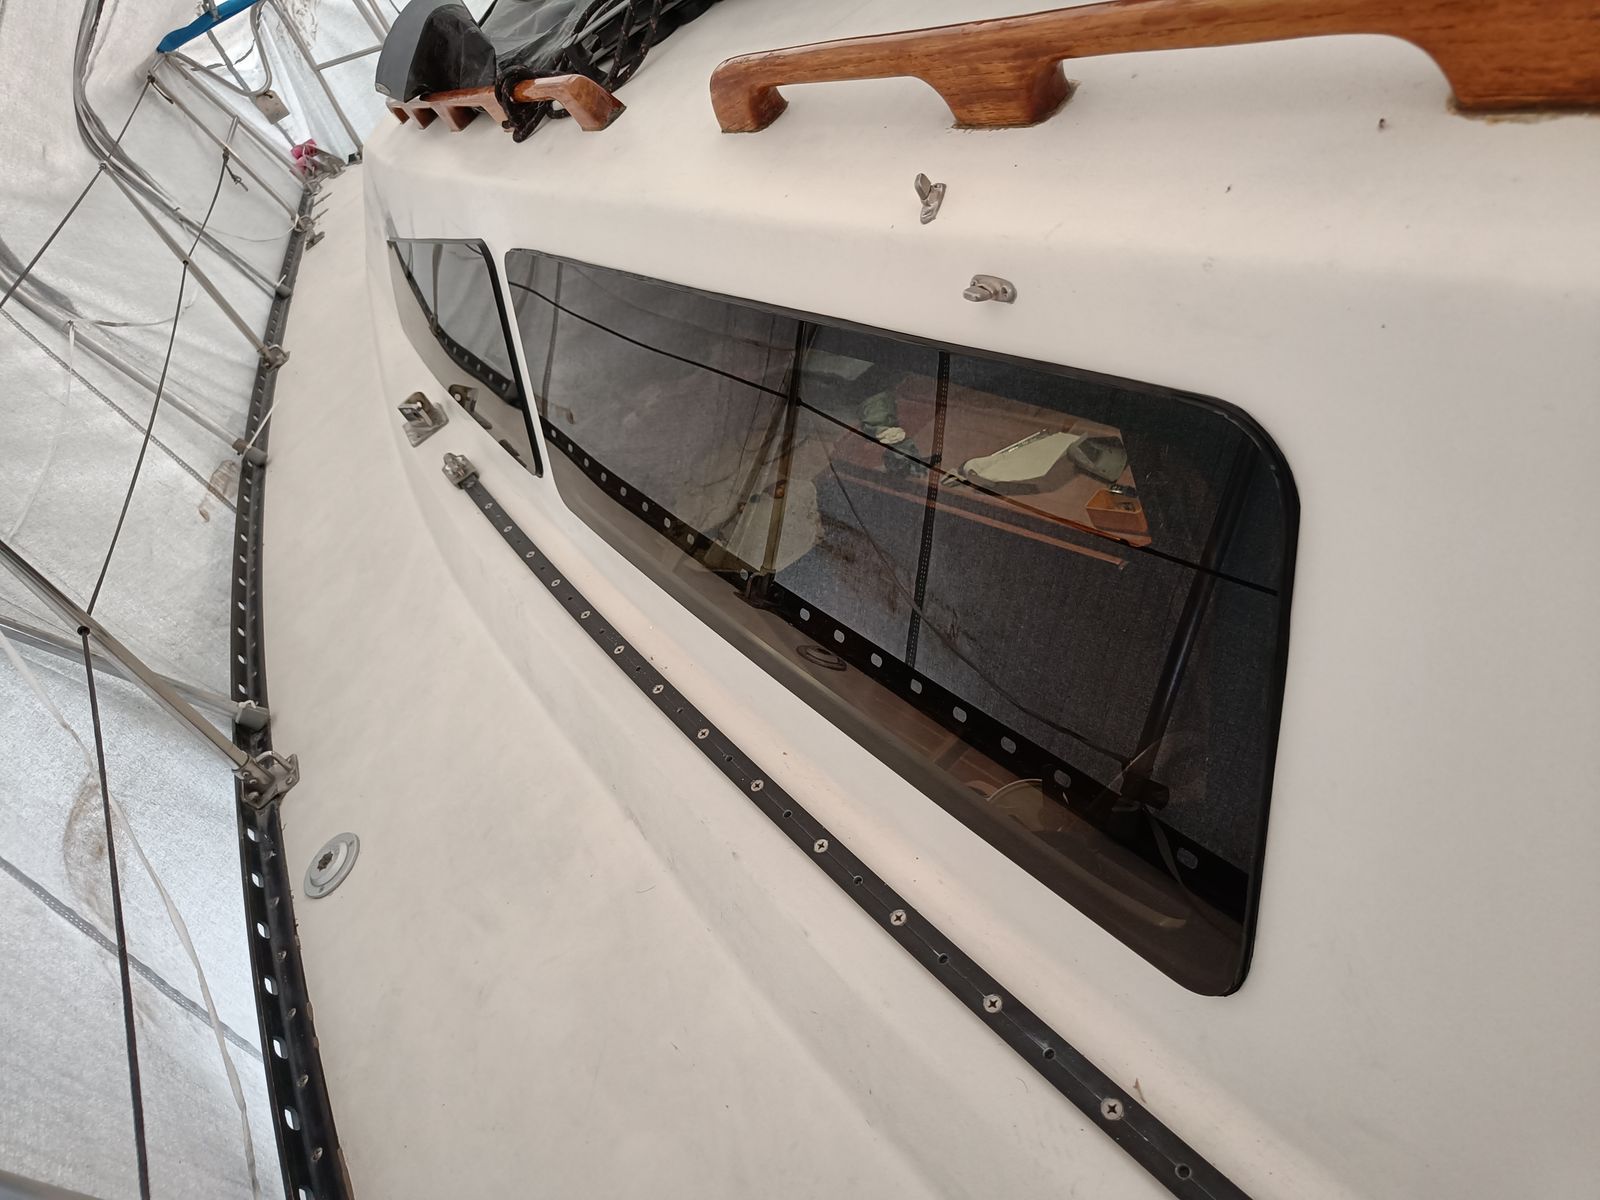
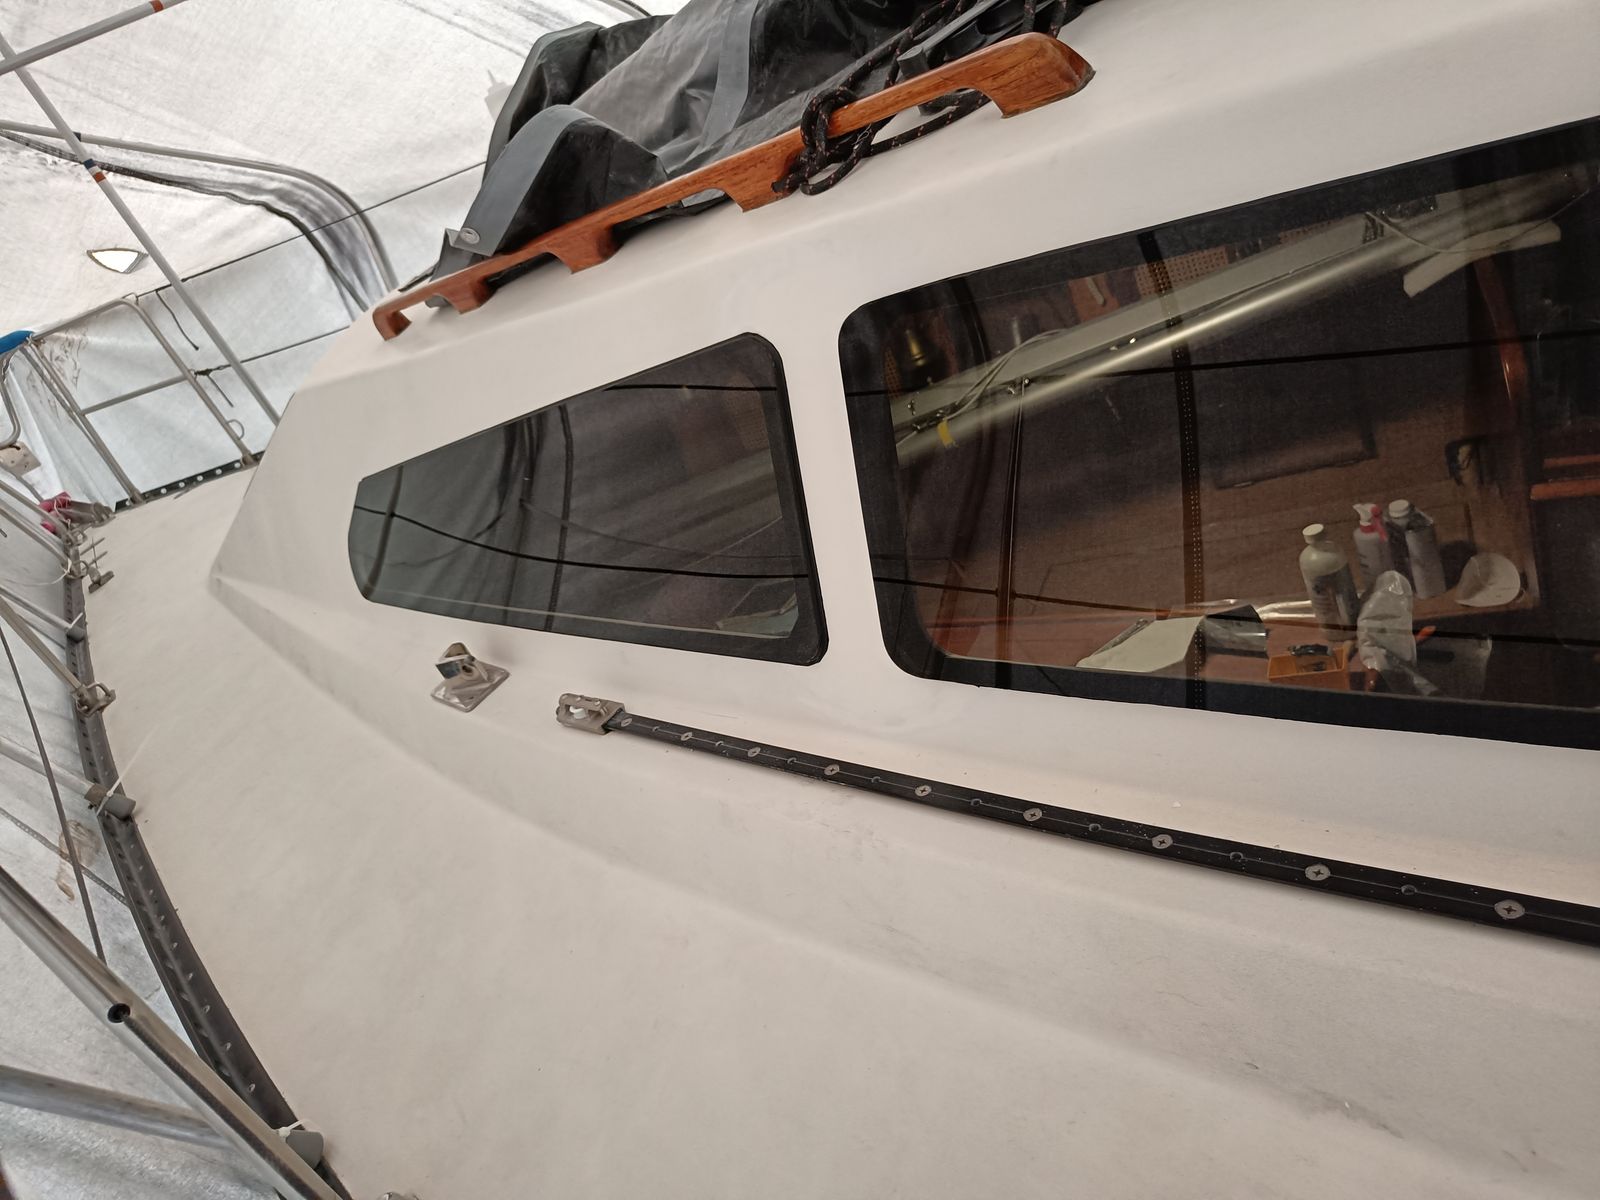
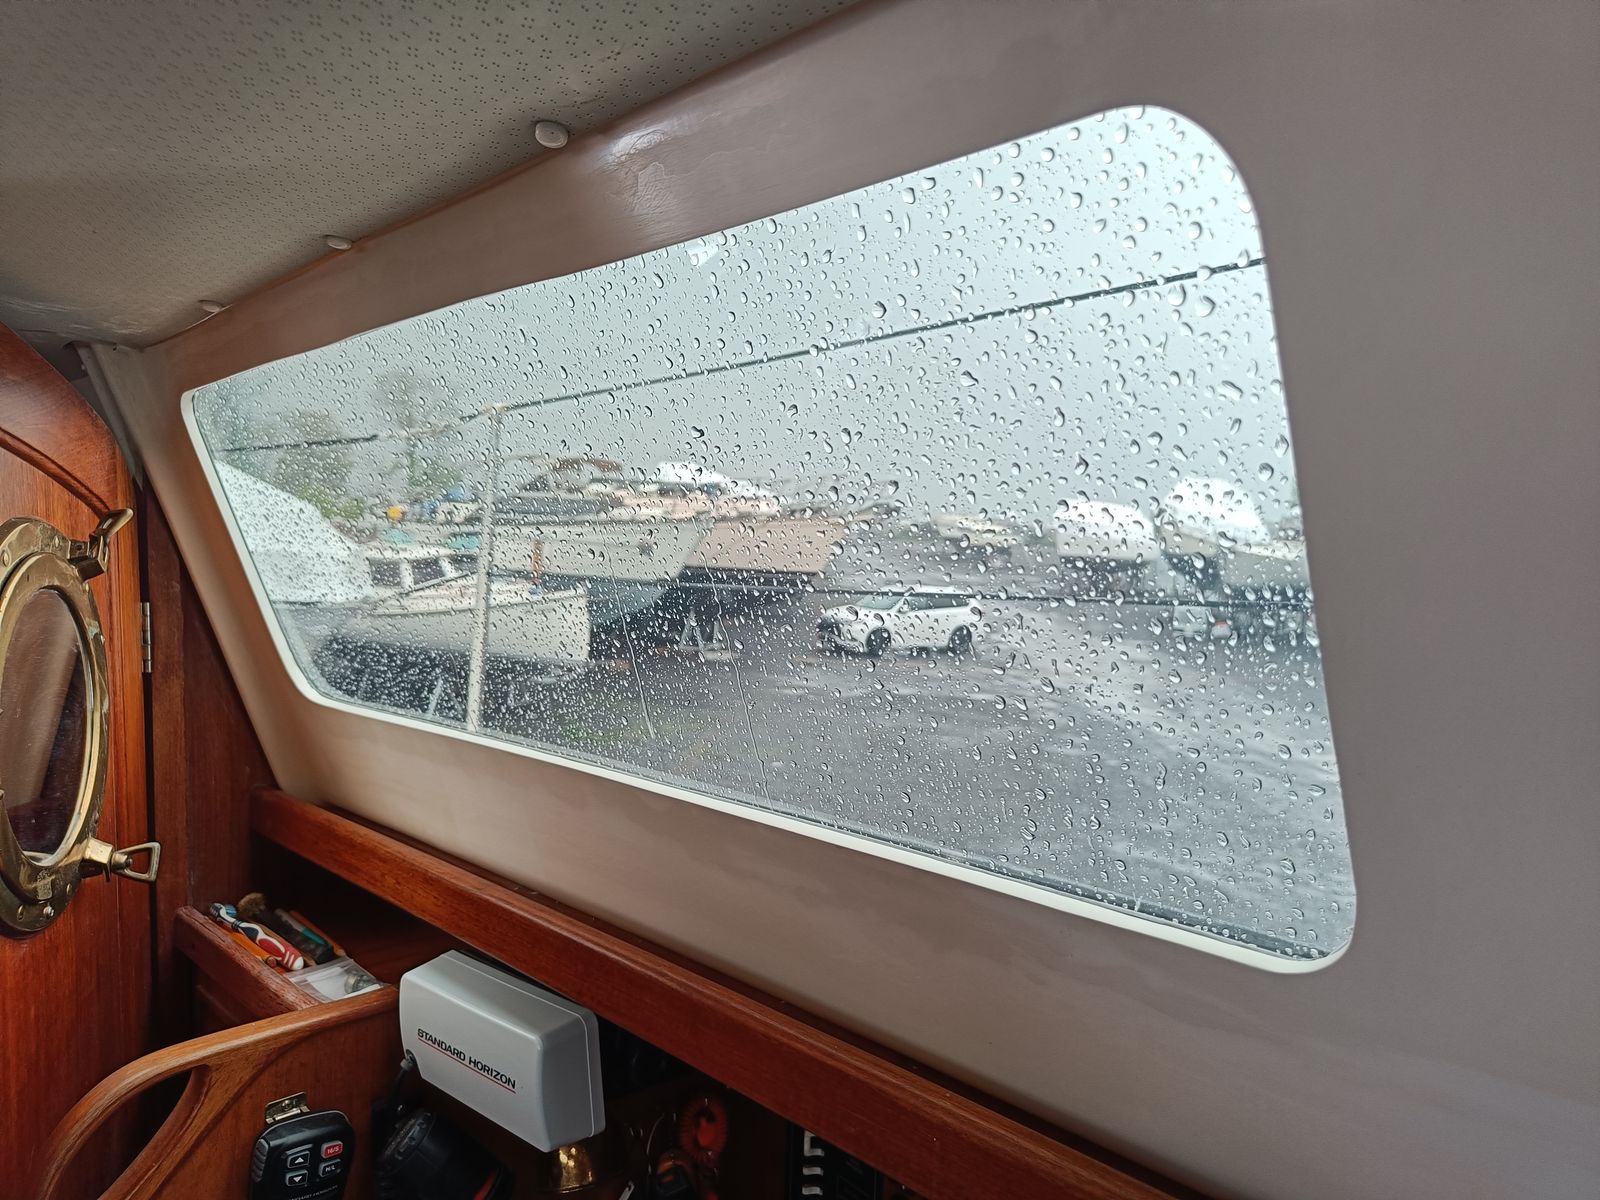
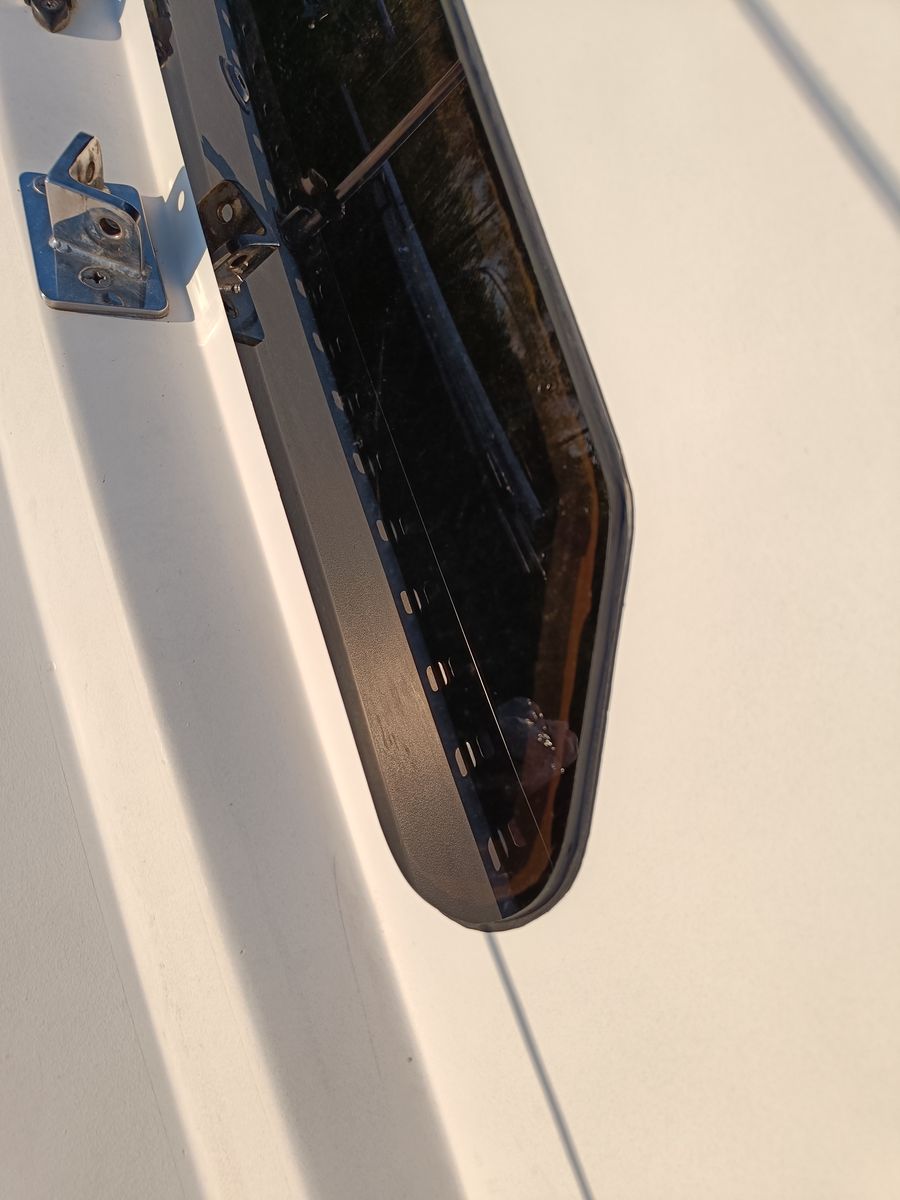
Decided on 3M VHB tape (4991 2.3mm thickness) to adhere the port, and then used Dow 795 silicon to seal the edges to waterproof it. The install went pretty smoothly, lots of prep to clean and ready the surfaces and then just a matter of applying the tape, and alinging the window (used guides glued to the deck sides) to line up and press on the ports.
Can't describe how happy I am to have this project behind me. The split ports look a little different than the old single port, but I think overall it looks pretty good, and if it fixes the leaky issues I'm more than happy with it. The next big question will be how it stands up over time, but we'll have to wait and see on that.